5 TOP DECK STAINING TIPS THAT WILL MAKE YOU LOOK LIKE A PRO!

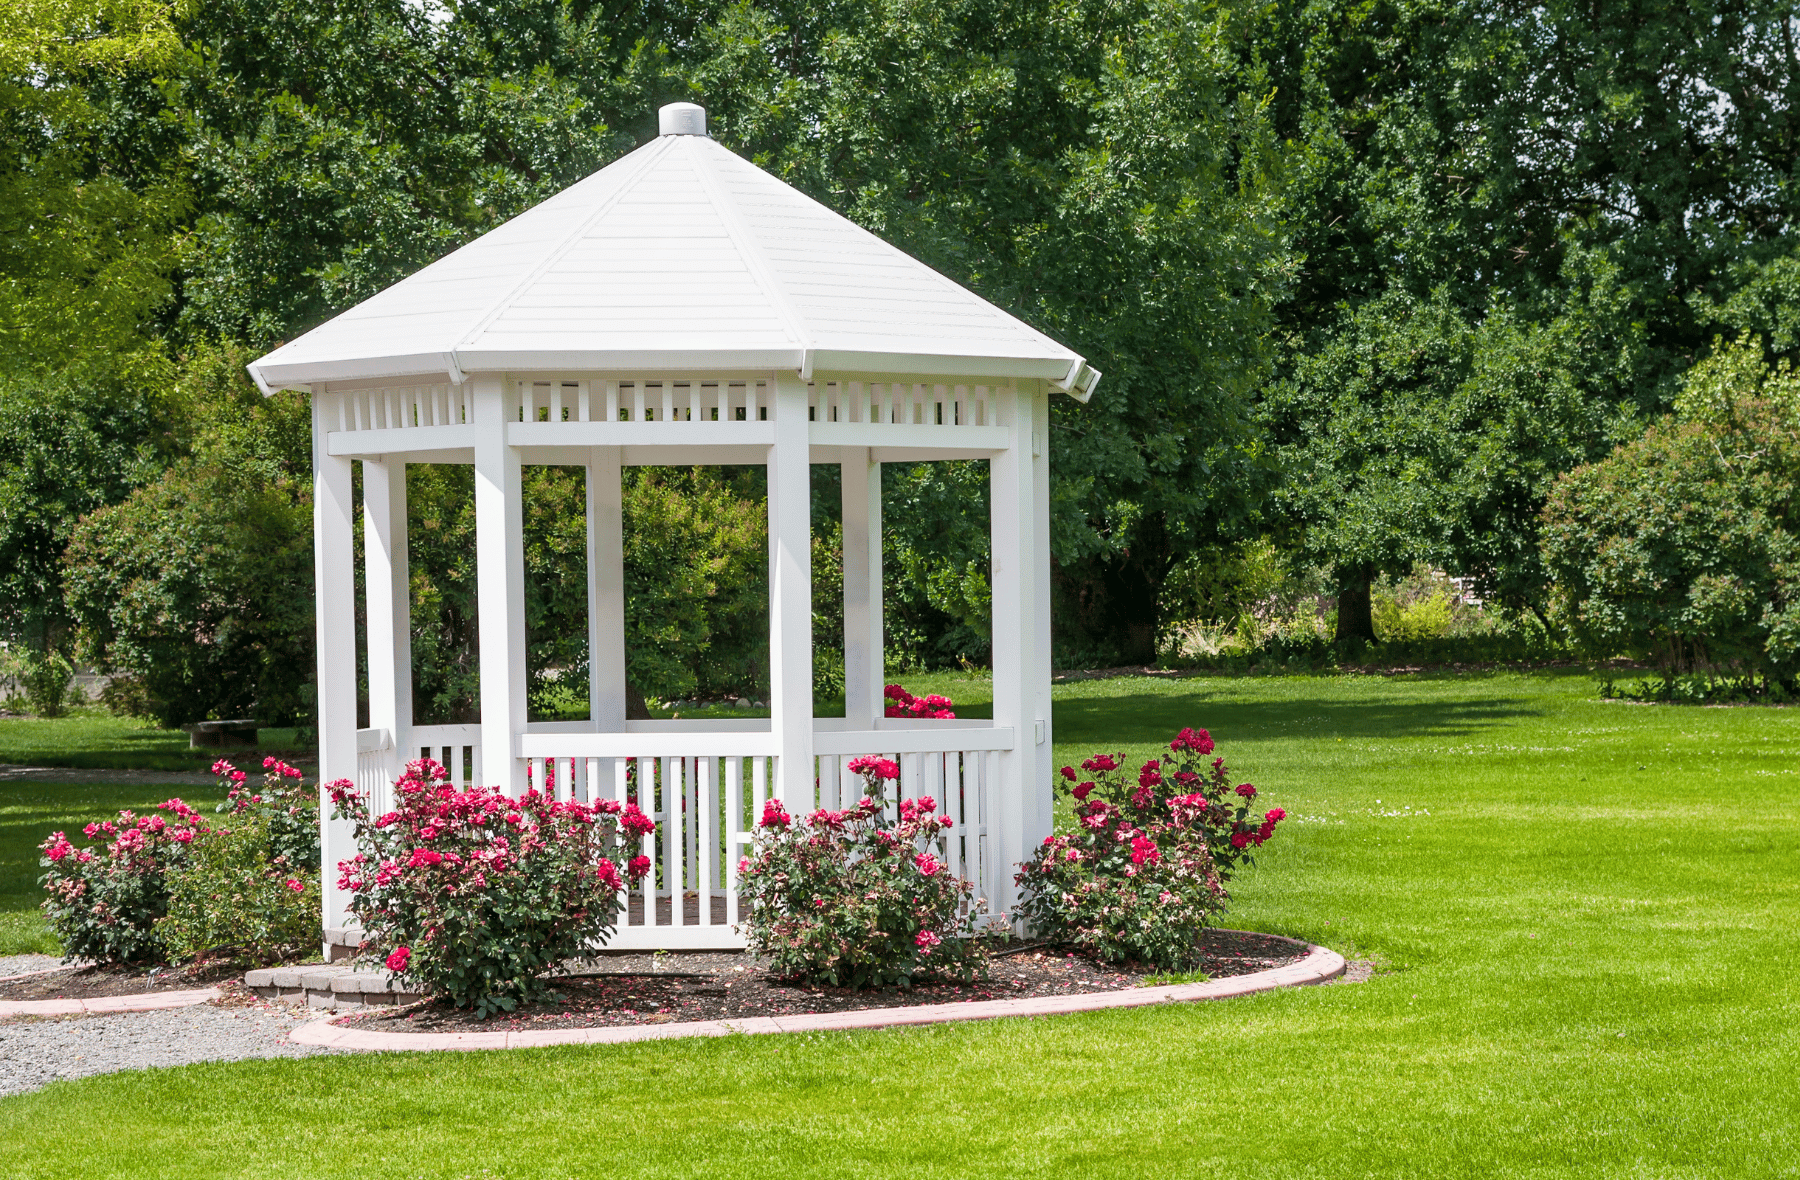
The Australian way of life is no better celebrated than relaxing on your freshly restored deck.

A deck offers everything we love about living in Australia.
Relaxing afternoons around the BBQ with family or mates, and a fantastic DIY opportunity!
As they get older, timber decks become weathered, lifeless and are prone to being damaged. This is all a natural part of the aging process of timber. But don't panic! It's not difficult to keep your deck in tip top condition.
How? Easy – re-stain your deck and it will look as good as new!
But before you put down your beer and get stuck into it, let’s take a look at some really handy
deck staining tips. These tips are simple, quick and they will make all the difference between a great experience and a disaster. Doing a little bit of research will keep your deck staining project on the right track. The results will speak for themselves!
1.Before You Start: Deck Preparation Essentials
Properly preparing your deck is crucial for ensuring the best possible finish.
Here are the detailed steps you should follow:
Comprehensive Cleaning:
- Sweep Thoroughly: Begin by sweeping your deck to remove loose dirt, leaves, and other debris. Pay special attention to the spaces between boards where dirt tends to accumulate.
- Apply a Cleaning Solution: Use a specialised deck cleaner to tackle tough stains, mould, and built-up grime. These cleaners are designed to penetrate the wood and lift out stubborn contaminants without damaging the deck’s surface.
- Scrubbing: Equip yourself with a stiff-bristled brush or a broom and thoroughly scrub the surface of the deck. This physical scrubbing is vital as it helps to open up the pores of the wood, allowing the cleaning solution to penetrate deeply.
Rinsing:
- Thorough Rinse: After scrubbing, rinse the deck thoroughly with a hose to remove all traces of the cleaning solution. This step is important to prevent any chemical residue from affecting the stain or finish.
Address Repairs:
- Inspect for Damage: Before the deck dries, inspect for any signs of damage such as splintered boards, popped nails, or loose screws. Repair these issues to ensure a smooth and safe surface.
- Sanding: Once dry, sand any rough areas to create a smooth finish. Sanding not only improves the appearance but also enhances the penetration of the stain or paint.
Let it Dry:
- Drying Time: Allow your deck to dry completely after cleaning. This usually takes at least 24 to 48 hours, depending on weather conditions. The wood must be dry before applying any stain or sealant to ensure proper adhesion.
Final Inspection:
- Check Moisture Levels: Before proceeding with staining, check the moisture content of the wood. Ideally, it should be below 15% to ensure the best absorption and adhesion of the stain.
- Final Sweep: Give the deck one last sweep to remove any dust or debris that may have settled during the drying process.
Tips for Effective Deck Preparation
- Choose the Right Day: Aim for a dry, mild day to clean and treat your deck. Extreme temperatures can affect the efficiency of cleaners and the drying time of stains or sealants.
- Invest in Quality Tools: Good quality brushes, brooms, and cleaning solutions can make a significant difference in the ease and effectiveness of your work.
- Safety First: When using chemical cleaners, wear appropriate protective gear such as gloves, goggles, and possibly a respirator to avoid inhaling fumes.
By diligently following these steps and ensuring no shortcuts are taken, you’ll set yourself up for a successful DIY project. A well-prepared deck not only looks better but will also last longer, providing you with a beautiful outdoor space to enjoy for years to come.
2.Only sand your deck if it is old or deteriorated:
When it comes to deck staining, knowing when to sand and when not to is crucial for achieving the best results. Sanding can indeed be an important step in preparing a deck for staining, but it's not always required and can sometimes be detrimental. Understanding the role of sanding in deck restoration and how to determine if it's necessary for your project is crucial
Understanding the Role of Sanding in Deck Restoration
Sanding is typically recommended for decks that are old or have deteriorated over time because:
- Smooths Rough Surfaces: Sanding can remove splinters and smooth out rough spots, making the deck safer and more comfortable to walk on.
- Improves Adhesion: For older decks, sanding helps to remove the gray, weathered layer of wood, exposing the fresh wood beneath. This can improve the adhesion of the stain or paint.
- Evens Out Appearance: Sanding can help to even out discrepancies in the wood, such as stains or marks, creating a more uniform surface for staining.
When to Sand Your Deck
To determine whether sanding is necessary, consider the following:
- Deck Condition: Examine the deck's surface. If there are signs of significant wear such as deep grooves, splinters, or uneven planks, sanding might be required to restore its condition.
- Previous Treatments: If the deck has layers of old paint or stain, sanding may be necessary to remove these layers and ensure that the new stain penetrates effectively.
- Type of Wood: Certain types of wood have dense grain patterns that can become too smooth over time or with initial sanding. In these cases, additional sanding might hinder the stain's ability to penetrate.
When Not to Sand
- New Decks: New wood usually has a mill glaze, a shiny film that forms when wood is cut at a mill. This glaze prevents stain from penetrating effectively. It’s recommended to let new decks weather for a season or two to naturally erode this glaze.
- Recently Stained or Treated Decks: If your deck was recently stained or treated and is still in good condition, sanding might remove the protective layer and expose the wood to moisture and decay.
Tips for Sanding Your Deck
If you decide that sanding is necessary, follow these tips to do it correctly:
- Choose the Right Grit: Start with a coarser grit to remove the rougher imperfections and finish with a finer grit to smooth the surface. Typically, starting with a 60-grit and finishing with a 100-120 grit is sufficient.
- Even Sanding: Ensure you sand evenly across the deck to avoid gouging or uneven surfaces which can lead to an inconsistent stain appearance.
- Clean Thoroughly: After sanding, thoroughly clean the deck to remove all sawdust and debris. This ensures the stain will adhere properly and evenly.
Sanding is a powerful tool in deck restoration but should be used judiciously.
Assessing the condition of your deck and understanding the type of wood and previous treatments will guide your decision on whether to sand. By carefully determining when sanding is necessary, you can ensure that your deck not only looks great but is also well-protected for years to come.
3.Choose your day carefully
Timing your deck staining project with the weather is crucial, as rain can significantly impact the quality and longevity of the stain.
Here are detailed insights and tips on why choosing the right day matters and how to go about it.
Importance of Weather in Deck Staining
Rain can wreak havoc on a freshly stained deck in several ways:
- Moisture Issues: Water from rain can seep into the wood, preventing the stain from adhering properly. This can lead to uneven staining where some parts absorb more stain than others.
- Dilution of Stain: Rain can dilute the stain before it sets, leading to a lighter colour than expected and a less protective coating.
- Extended Drying Time: Humidity and dampness from rain can prolong the drying time of the stain, which might lead to dust and debris sticking to the deck.
Tips for Choosing the Right Day to Stain Your Deck
- Check the Weather Forecast: Before you even begin the preparation, check your local weather forecast. Look for a clear stretch of 2-3 days of sunny or at least dry weather. This window will give your stain the best chance to dry and cure properly.
- Consider Humidity Levels: Apart from rain, high humidity can also affect the staining process. It can slow down the drying time and affect how the stain sets on the wood. Choose a day with moderate to low humidity if possible.
- Avoid Direct Sunlight: While rain is detrimental, too much direct sunlight can cause the stain to dry too quickly, potentially leading to lap marks and uneven colour. Early morning or late afternoon when the sun is less intense are ideal times for application.
- Wind Conditions: A mild breeze is helpful as it aids in the drying process, but too much wind can blow dirt and debris onto your freshly stained deck. Choose a day with gentle to moderate winds.
- Temperature Matters: Most stains have a specific temperature range for application, typically between 15°C and 30°C. Too hot and the stain will dry too quickly; too cold and it may not adhere well or evenly.
- Plan for Drying Time: Even after the perfect application day, you’ll need dry conditions to allow the stain to cure properly. Ensure no rain is forecasted for at least 24 to 48 hours after application.
Staying Flexible
- Stay Updated: Weather can change unexpectedly, especially in regions known for quick shifts like the Hunter Valley. Keep monitoring the weather up to and during your project.
- Have a Backup Plan: Always be prepared to cover your deck quickly or to change your staining schedule if the weather forecast changes. Having tarps and other coverings at hand can protect your work if sudden rain occurs.
Choosing the right day for staining your deck is as critical as the preparation process itself. By carefully monitoring the weather and planning accordingly, you can ensure that your effort results in a beautifully stained deck that lasts. Remember, patience and flexibility in scheduling are key components of a successful deck staining project.
4.Select a suitable stain
Selecting the right stain for your deck is a critical decision that can influence both the appearance and longevity of your outdoor space.
Here's how to choose the best stain for your deck, exploring the different options and considerations that can guide your decision-making process.
Understanding the Types of Deck Stains
There are primarily two types of stains: water-based and oil-based.
Each comes with its own set of advantages and considerations:
- Water-Based Stains:
- Advantages: Water-based stains are environmentally friendly, easier to clean up (requiring only soap and water), and they dry faster. They're less prone to mould and mildew and do not emit strong odours.
- Considerations: They may not penetrate as deeply into the wood as oil-based stains, which can affect their durability and the need for more frequent reapplications.
- Oil-Based Stains:
- Advantages: Oil-based stains penetrate deeper into the wood, providing stronger adhesion and longer-lasting protection. They are better at repelling water and are more resistant to wear and tear.
- Considerations: They require more careful handling, with solvents needed for cleanup, and they generally have a stronger odor. Additionally, they take longer to dry, which can be a consideration depending on your local weather conditions.
Choosing the Right Colour and Opacity
- Shades: Deck stains come in a range of colours, from natural wood tones to more vibrant colours. Select a shade that complements your home’s exterior and fits with the natural surroundings.
- Opacity: Stains vary from transparent to solid. Transparent or semi-transparent stains highlight the natural grain of the wood but offer less UV protection. Solid stains provide more color and better protection but will obscure the wood's natural features.
Special Features
Some stains offer additional features such as:
- UV inhibitors: to prevent fading due to sun exposure.
- Mold and mildew resistance: crucial in humid or wet climates.
- Water repellency: which enhances the deck’s durability against weather conditions.
Testing Your Stain
Before committing to a large quantity of stain, it's wise to test a small amount on a hidden area of your deck or on a scrap piece of wood. This allows you to see the actual colour and finish after it dries, which can sometimes be significantly different from how it appears in the container or on the label.
Consulting with Experts
Given the variety of options and the specific considerations of your project:
- Expert Advice: Speak with professionals at your local home improvement store or hire a decking specialist. They can provide valuable insights into the best type of stain for your deck’s wood type and your local climate.
- Custom Mixes: If you’re considering mixing stains for a custom colour, consult with a professional. Not all stains blend well, and some combinations could result in poor adhesion or unexpected colors.
Choosing the right stain for your deck involves more than just picking a colour.
It requires considering the type of stain, the specifics of your deck’s use, exposure, and climate, and the desired aesthetics.
By taking the time to evaluate your options and perhaps consulting with experts, you can ensure that your deck not only looks great but is also well-protected for years to come.
This attention to detail can truly make the difference in your deck's appearance and longevity.
5.What tools will you need?
Deck staining doesn't require an extensive toolkit, but having the right tools on hand can significantly streamline the process and enhance the quality of your work.
Here are some of the essential tools needed for staining your deck effectively and a few optional items that might make the job easier.
Essential Tools for Deck Staining
- Good Broom: Before you start staining, you’ll need to ensure your deck is free of all dirt, leaves, and debris. A good broom will help you sweep the deck thoroughly.
- Sturdy Brush: This is essential for scrubbing the deck during the cleaning phase. Choose a brush with stiff bristles that can handle tough grime and reach into the crevices between boards.
- Deck Applicator Brush or Pad: For the application of stain, a deck applicator brush or pad is crucial. These tools allow for an even and smooth application of stain, covering large areas quickly and efficiently.
- Paintbrush: While a deck applicator is great for large surfaces, a smaller paintbrush is necessary for detail work around edges, corners, and between boards. It helps in applying stain precisely where the larger brush can’t reach.
Additional Useful Tools
- Hammer and Nail Punch: Loose or protruding nails can be hazardous and can also interfere with the staining process. Use a hammer and a nail punch to countersink any raised nails.
- Sanding Equipment: If your deck is old or showing signs of wear, sanding equipment will be necessary to smooth out rough patches and splinters. A power sander can save time and effort, but hand sanding blocks or sandpaper might suffice for smaller jobs.
- Tarps or Drop Cloths: Protecting the areas around your deck from drips or spills of stain is crucial, especially if you have landscaping, pavers, or other features close to the decking area.
- Painter's Tape: Use this to tape off any areas that you don’t want to stain, such as siding on your house or glass in deck doors.
Optional But Helpful
- Gloves and Safety Goggles: Staining can be messy and sometimes involve harsh chemicals, especially if you are using a cleaner or stripper as part of the prep process. Gloves and safety goggles protect your skin and eyes.
- Extension Pole: For those who have larger decks, an extension pole attached to your brush or pad can reduce the strain on your back and speed up the staining process.
- Moisture Meter: This tool isn't necessary for everyone, but it can be very helpful in determining if your deck is dry enough to stain, particularly if you live in a humid climate.
Tips for Using These Tools
- Maintain Your Tools: Clean your brushes and tools thoroughly after use. Proper maintenance extends the life of these tools and ensures they’re ready for the next project.
- Choose Quality: Opt for higher quality tools. They might be more expensive initially, but they often give a better finish and last longer, saving money in the long run.
Having the right tools for deck staining not only makes the job easier but also helps achieve a professional-looking finish.
Ensure you have everything you need before starting your project to avoid any interruptions.
Easy eh! Yes, but if you just simply want the job done without any fuss, contact us at Painting Central Coast.
We are the painting and staining experts.
Simply the best painters on the Central Coast.