19 TOP PLASTERING TIPS & HINTS

Plastering is a job that needs some skill.
It is always best use a professional plasterer/gyprocker.
Have a look through these handy tips which will help make your plastering project a success.
- Get some quotes from a few professional plasterers. You will get an expert job with a lot less hassle.
- Plan your plastering project carefully well before you begin.
- The process will be disruptive. Prepare your family and your home before the plastering project gets underway.
- Relocate furniture and remove fittings from the room or work area.
- Plastering dust can be a nuisance to clean up, so cover any remaining items and carpet well.
- Keep pets and children away from the room or work area.
- Be clear with your plastering contractor about the time your job should take.
- Ensure your painting contractor is booked to come once plastering is complete.
- Take care with fresh plaster. It may be dry on the surface but takes time to cure completely.
- When reinstating furniture and fittings, move them with care to avoid damage.
If you have decided to do a DIY plastering job, ensure you allow plenty of extra time to complete your project. You will also need to allow for extra dollars in your budget. It is a daunting task to take on a professional trade, so you need plenty of practice and plastering advice for a decent job.
Consider enrolling in a basic plastering course before starting your project.
- It is very important to ensure you buy professional quality tools and materials from a reputable outlet.
- Find an area where an existing plastering needs improvement and practice there.
- Keep all work areas clear of furniture and turn off your power at the mains, this will help avoid accidents and injury.
- Follow the instructions on the plaster mix to the letter.
- Keep all your equipment clean throughout your plastering project.
- Wash off unwanted plaster while it is still wet … even if it is late at night.
- Dry plaster remnants contaminate future plaster batches and spoil the finish.
- Contaminated plaster mix should be disposed of immediately.
If you a sure you want to do the job yourself, here’s a few tips for how to finish the plastering job.
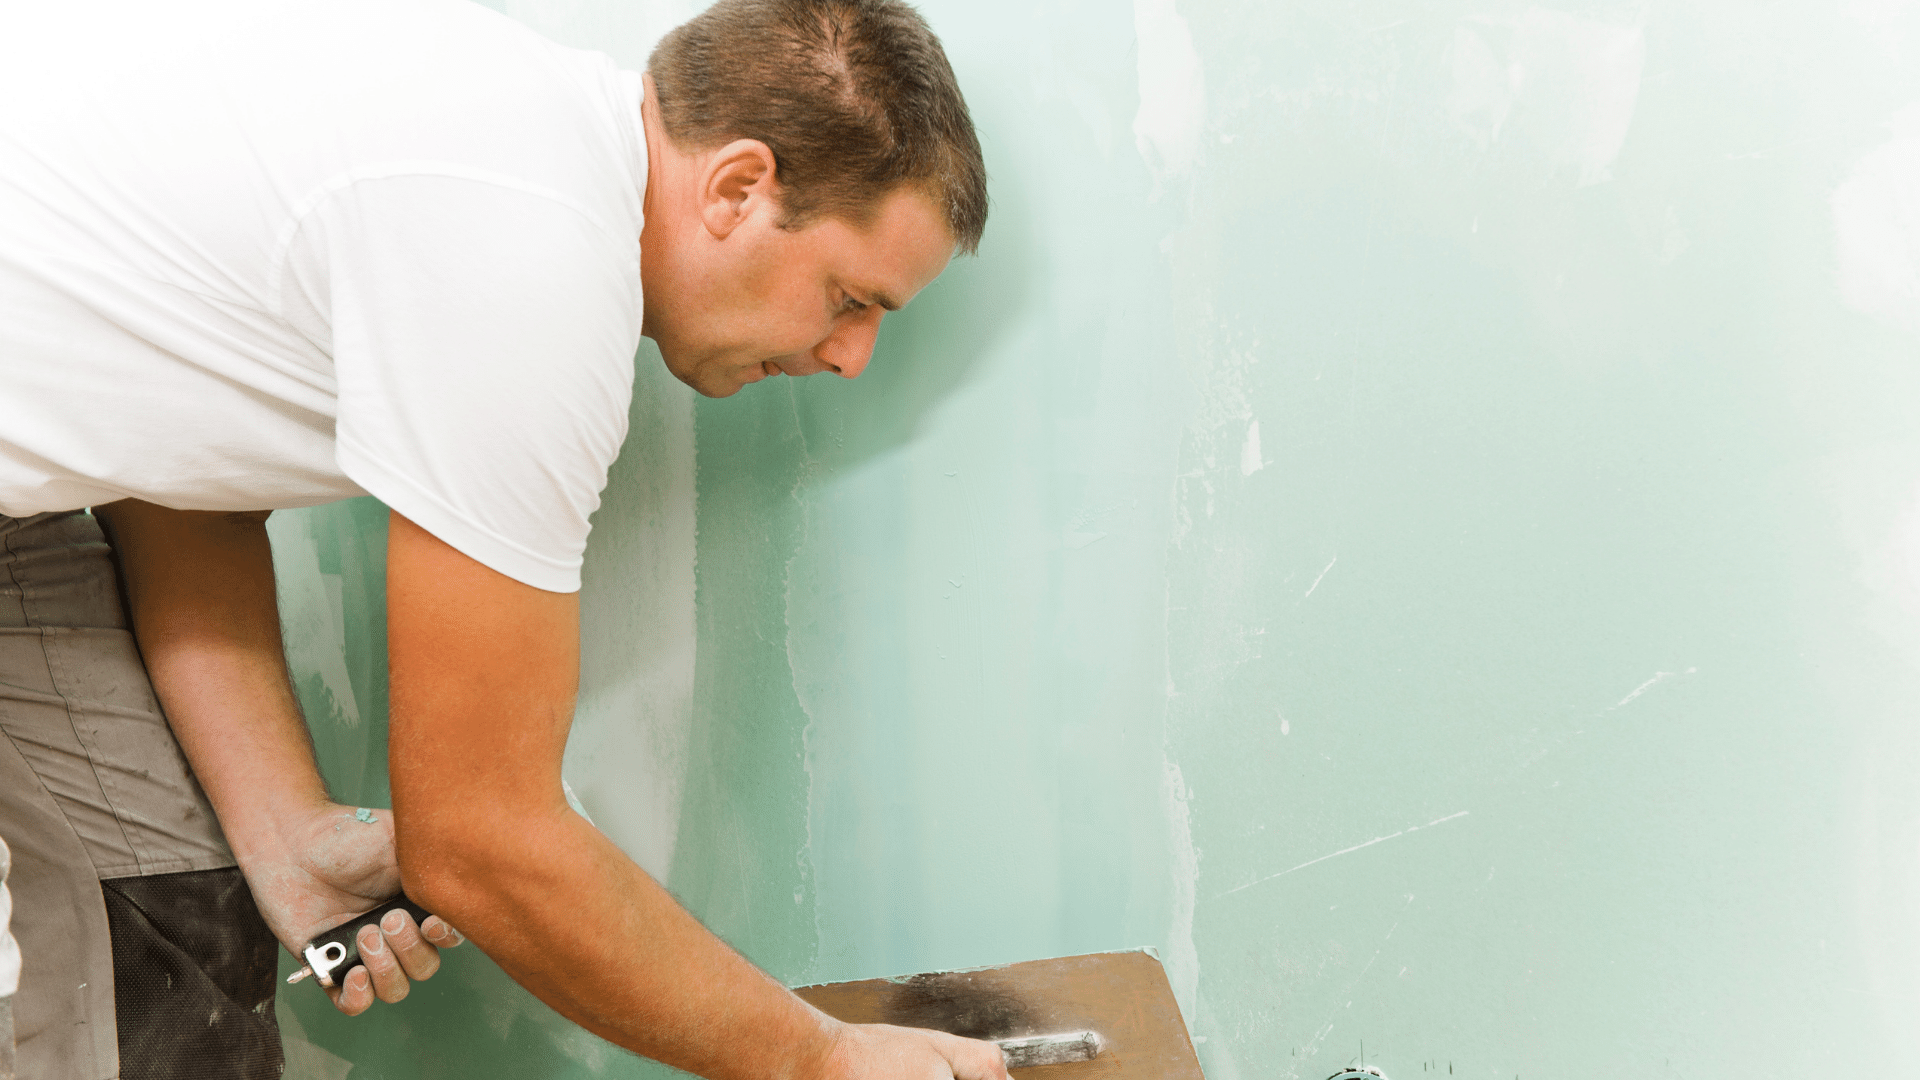
Render/plastering is great for building or repairing ceilings and interior walls. However, finishing plaster/render can be a daunting task. The following tips will help you complete jobs with ease.
Fixing plaster
Prepare your surfaces and always stir the compound mix. Mix your render compound at a slow speed until you notice the water and the render mix is smooth and even. When there is no liquid present, the render/plaster mix is ready to be used.
Smooth your surface
For a maximum smooth finish, drive all exposed screw-heads into the wall. Remove any loose or torn paper from drywall. Cover any joints and screw-heads.
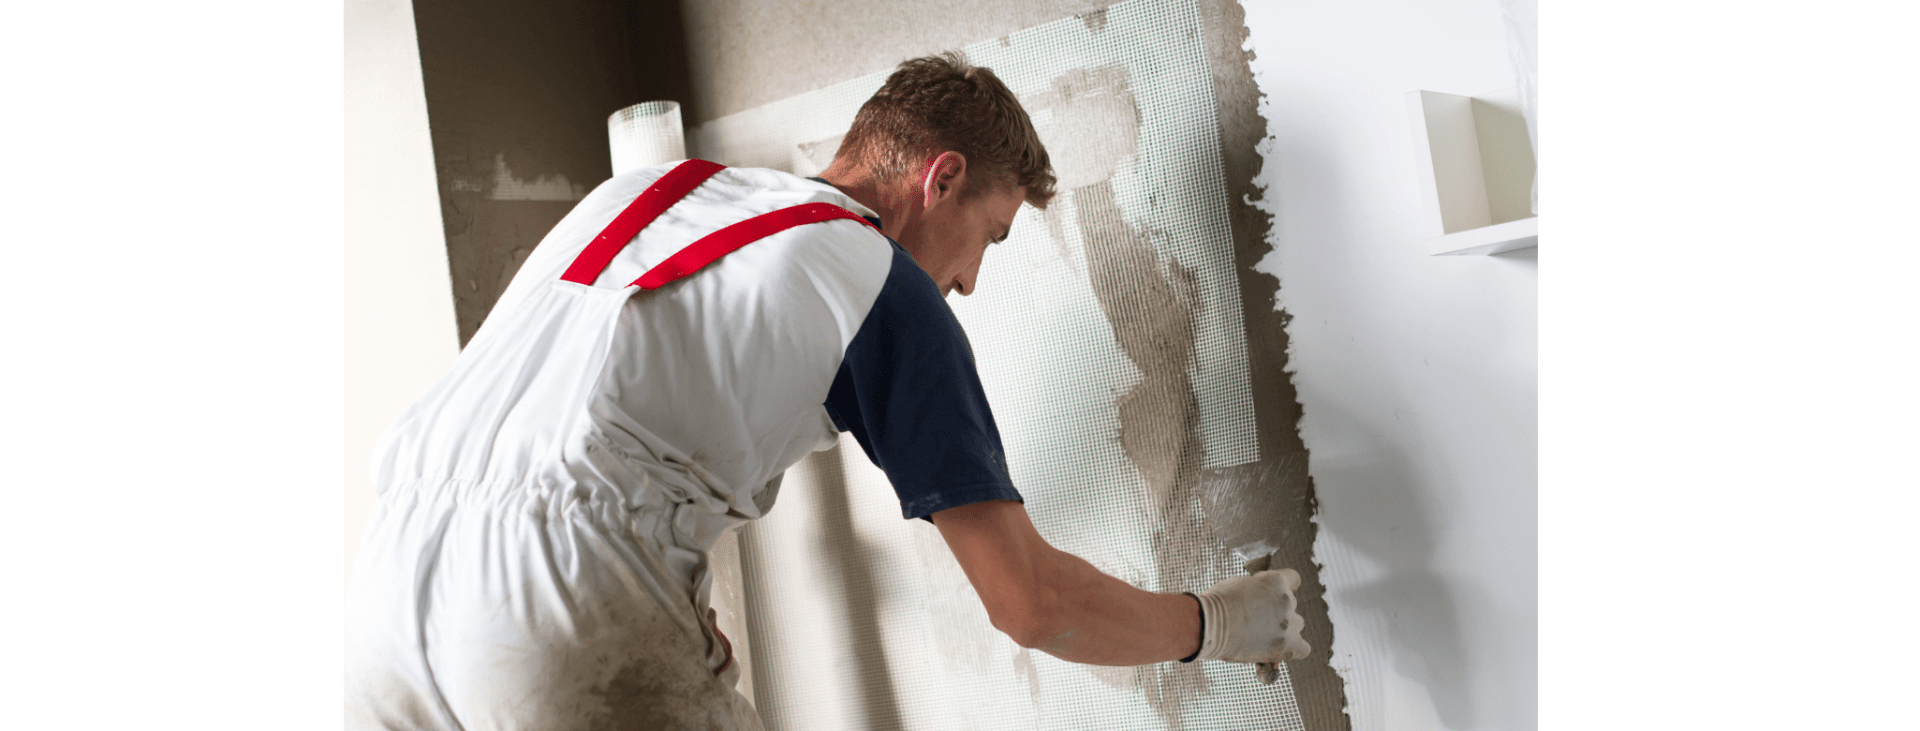
Spreading plaster and taping
Start with a knife with about 5cm of plaster compound loaded onto it and put the plaster mix into any joints or screw-heads.
Hold the knife at approximately 25-degrees, smooth the plaster compound and scrape off any excess.
Unroll approximately three feet of paper tape, centering it over plaster seams, and gently press into the newly-applied plaster.
Bed the tape into the remaining sections of the joints, tearing the ends using the edge of the knife.
Smooth out the tape and scrape any excess plaster compound into a mud box. Don't forget to tape the inside corners with the plaster mixture, filling the seams and covering at least 30cm on either side of the corners with the mixture.
Cover the outside corners of the bead head (approximately 30cm), and using the knife, place plaster compound on both sides of the bead.
Drying, sanding and priming plaster
Allow the compound to dry overnight. It will be dry when the plaster is uniformly white. You can then sand the plaster starting on the inside corners using a square-corner sanding block. Work your way to the remaining surface using a medium-grit pole sander, applying even, gentle pressure.
Rougher areas may require more sanding, but make sure not to sand through the plaster to the paper tape.
Once dried and sanded, you can then repeat the process, applying a second, or even a third coat of plaster.
Once finished, prepare your surface for priming by wiping it down with a damp cloth.