15 PAINTING MISTAKES TO AVOID TO ENSURE THE PERFECT PAINT JOB

What's the difference between DIY and professionals?
If you ask the professionals at Painting Central Coast, they will tell you the biggest difference between DIY and professional projects is lack of proper preparation.
DIY home painters want to jump straight into their project, because they’re excited to see the new colour on their walls — it’s a normal emotional reaction.
But it’s important to understand that professional painters spend most of their time on preparation.
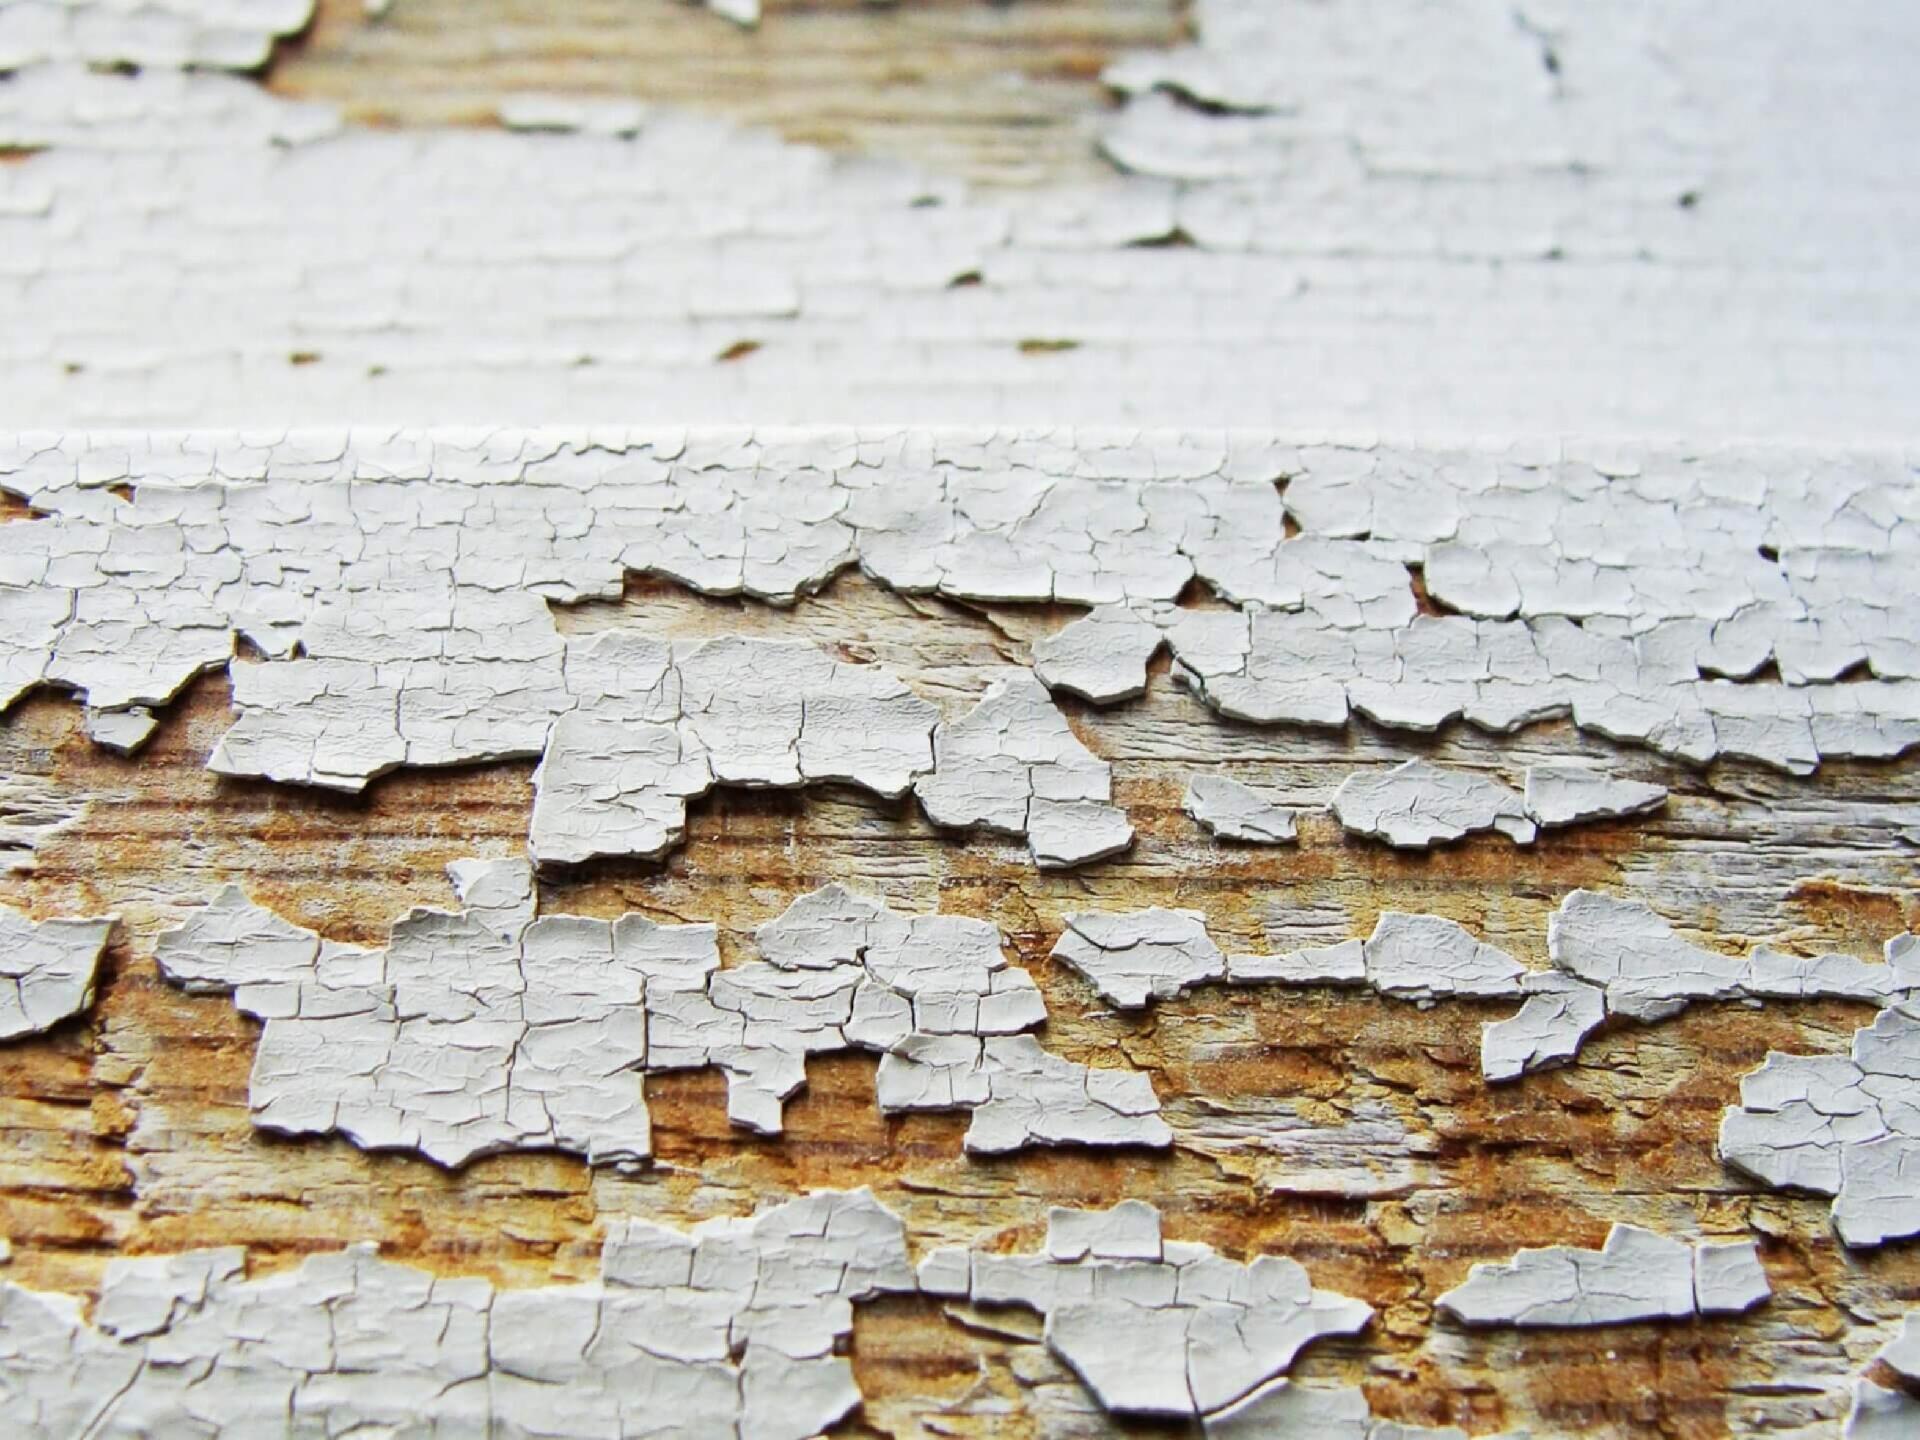
Before you do anything else make sure you’ve properly cleaned walls , scraped off peels and cracks, applied painter’s tape carefully, and allowed any filler compound to dry before you start.
For the smoothest finish always start near the ceiling and work your way down. This will help can catch drips as you work.
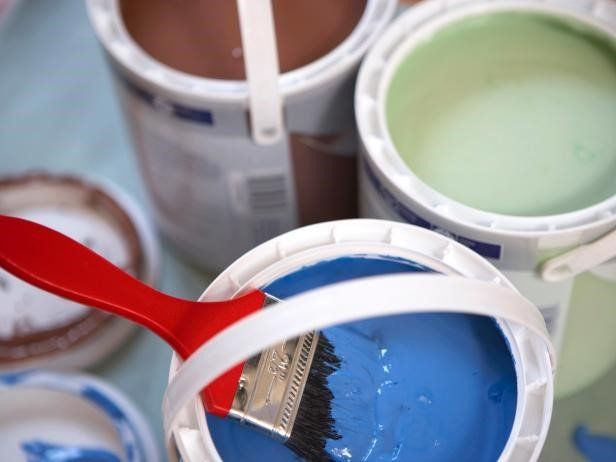
“You can have the best paint in the world but if you go cheap on your brushes and rollers the result will generally be poor.” the pros will tell you. Good brushes and roller covers will give you better coverage and save paint in the long run — plus if you take care of them, good quality brushes will last for years.
They are definitely worth the extra cost.
When tackling a deck staining project, the attention to detail can significantly affect the outcome.
One key detail is the use of painter’s tape to achieve clean, sharp lines and protect certain areas from unwanted stain. Professional painters invest in high-quality tape for good reasons, and adopting their approach can greatly improve your DIY projects.
Here’s why high-quality painter’s tape is essential and how to use it effectively.
The Importance of High-Quality Painter’s Tape
- Strong Adhesion: High-quality painter’s tape provides strong adhesion to various surfaces but will also remove cleanly without leaving residue or damaging the surface. This is crucial for protecting your home’s siding, trim, or adjacent surfaces that are not meant to be stained.
- Leak Prevention: Lower quality tapes may allow bleed-through, which can result in uneven lines or spots where the stain seeps under the tape. High-quality tape is designed to seal tightly against the surface, preventing leaks and ensuring the stain only goes where you want it to.
- Durability: During a project, tape may need to withstand conditions like direct sunlight, wind, or minor moisture from dew or humidity. High-quality tape is more resistant to such factors, maintaining its effectiveness.
Proper Application of Painter’s Tape
Using painter’s tape correctly is just as important as buying the right type.
Here’s how to ensure it gives you the best results:
- Surface Preparation: Before applying the tape, make sure the surface is clean and dry. Dust, dirt, or moisture can prevent the tape from adhering properly, which could lead to bleed-through.
- Application Technique: When applying painter’s tape, use a putty knife or mini scraper to smooth it down as you go. This tool is more effective than fingers for pressing the tape into the wood grain or between deck boards, which helps eliminate air bubbles and ensures the edges are sealed.
- Sealing the Edge: Once the tape is in place, run the flat edge of your putty knife or scraper along the tape’s edge to firmly press it down. This step is crucial to seal the edges and prevent the stain from seeping underneath.
- Removing the Tape: Remove the tape while the stain is still slightly tacky or as soon as it has dried enough not to smudge. If the tape is left on too long, it can be harder to remove and may pull up dried stain along with it, ruining your crisp lines.
Tips for Using Painter’s Tape
- Timing is Key: The timing of tape removal can vary based on the type of stain and environmental conditions, so it’s good to do a small test area first to determine the best removal time.
- Overlap Tape Strips: When covering larger areas or creating designs, make sure to slightly overlap the strips of tape. This ensures complete coverage and prevents gaps where the stain could leak through.
- Right Tape for the Job: Use tape that is specifically designed for outdoor or painting projects. General-purpose or masking tapes may not provide the same level of performance.
Investing in and properly using high-quality painter’s tape can make a significant difference in achieving a professional-looking finish on your deck staining project.
Like professionals, taking the time to do this step right can elevate the quality of your DIY efforts, resulting in a more satisfying and durable outcome.
The Importance of Good Quality Primer
Using the right primer is crucial in painting projects because it serves several key functions that affect both the appearance and longevity of the paint job.
Here’s why primer is important and how to choose the right type for different surfaces.
Functions of Primer
- Adhesion: Primer provides a key, or a sticky base, that ensures good adhesion of paint to the surface. This is particularly important for surfaces that are typically difficult for paint to adhere to, such as glossy finishes or non-porous materials.
- Protection: Primers help protect the surface. For example, some primers prevent rust on metal and others prevent tannins from bleeding through the paint on wood.
- Uniformity: Primer evens out the porosity of the substrate, meaning that paint absorbs evenly into the surface, which helps to achieve a uniform finish without blotchy spots.
- Color Enhancement: Applying primer before painting can enhance the color of the paint. For particularly vivid colours, using a tinted primer closer to the final paint colour can provide a better depth of colour and reduce the number of paint coats needed.
When to Use Separate Primer
- Porous Surfaces: On new drywall, raw wood, or other porous surfaces, primer is essential as it seals the surface and prevents paint from soaking in excessively, which can lead to a splotchy finish.
- Glossy Surfaces: If you’re painting over a glossy surface, a specialised bonding primer will roughen up the surface on a microscopic level to ensure the paint adheres properly.
- Stained Surfaces: Surfaces with water, smoke, or tannin stains should be treated with a stain-blocking primer to prevent these stains from bleeding through the new paint.
- High-Traffic Areas: In areas that see a lot of handling or cleaning, such as kitchens, bathrooms, and hallways, a high-quality primer can add an extra layer of durability and washability.
Using ‘Paint and Primer in One’ Products
- Previously Painted and Flat Surfaces: If the surface was previously painted, is still in good condition, and has a flat or matte finish, a ‘paint and primer in one’ product can be an effective option. These products contain high-build binders which can cover small imperfections and eliminate the need for a separate priming step.
- Limitations: While convenient, these combined products may not be sufficient on their own for more challenging surfaces. They generally work best when used over similar colours or when drastic colour changes are not being made.
Choosing the Right Primer
- Specific Surfaces: Always choose a primer that is suitable for the material you are working on. For example, use a wood primer for bare wood, a metal primer for metal surfaces, and a masonry primer for concrete.
- Environmental Factors: Consider low-VOC or no-VOC primers if indoor air quality is a concern, particularly in enclosed spaces or residential interiors.
- Weather Conditions: For exterior projects, ensure the primer is suitable for outdoor use and capable of withstanding the local weather conditions.
The right primer can drastically improve the quality and durability of a paint job.
Whether you choose a separate primer or a combined paint and primer product, make sure it’s specifically formulated for the surface you’re working on and the conditions it will face. This upfront investment in the right materials pays off in both the aesthetic finish and the longevity of the paint job, making it a crucial step not to be overlooked.
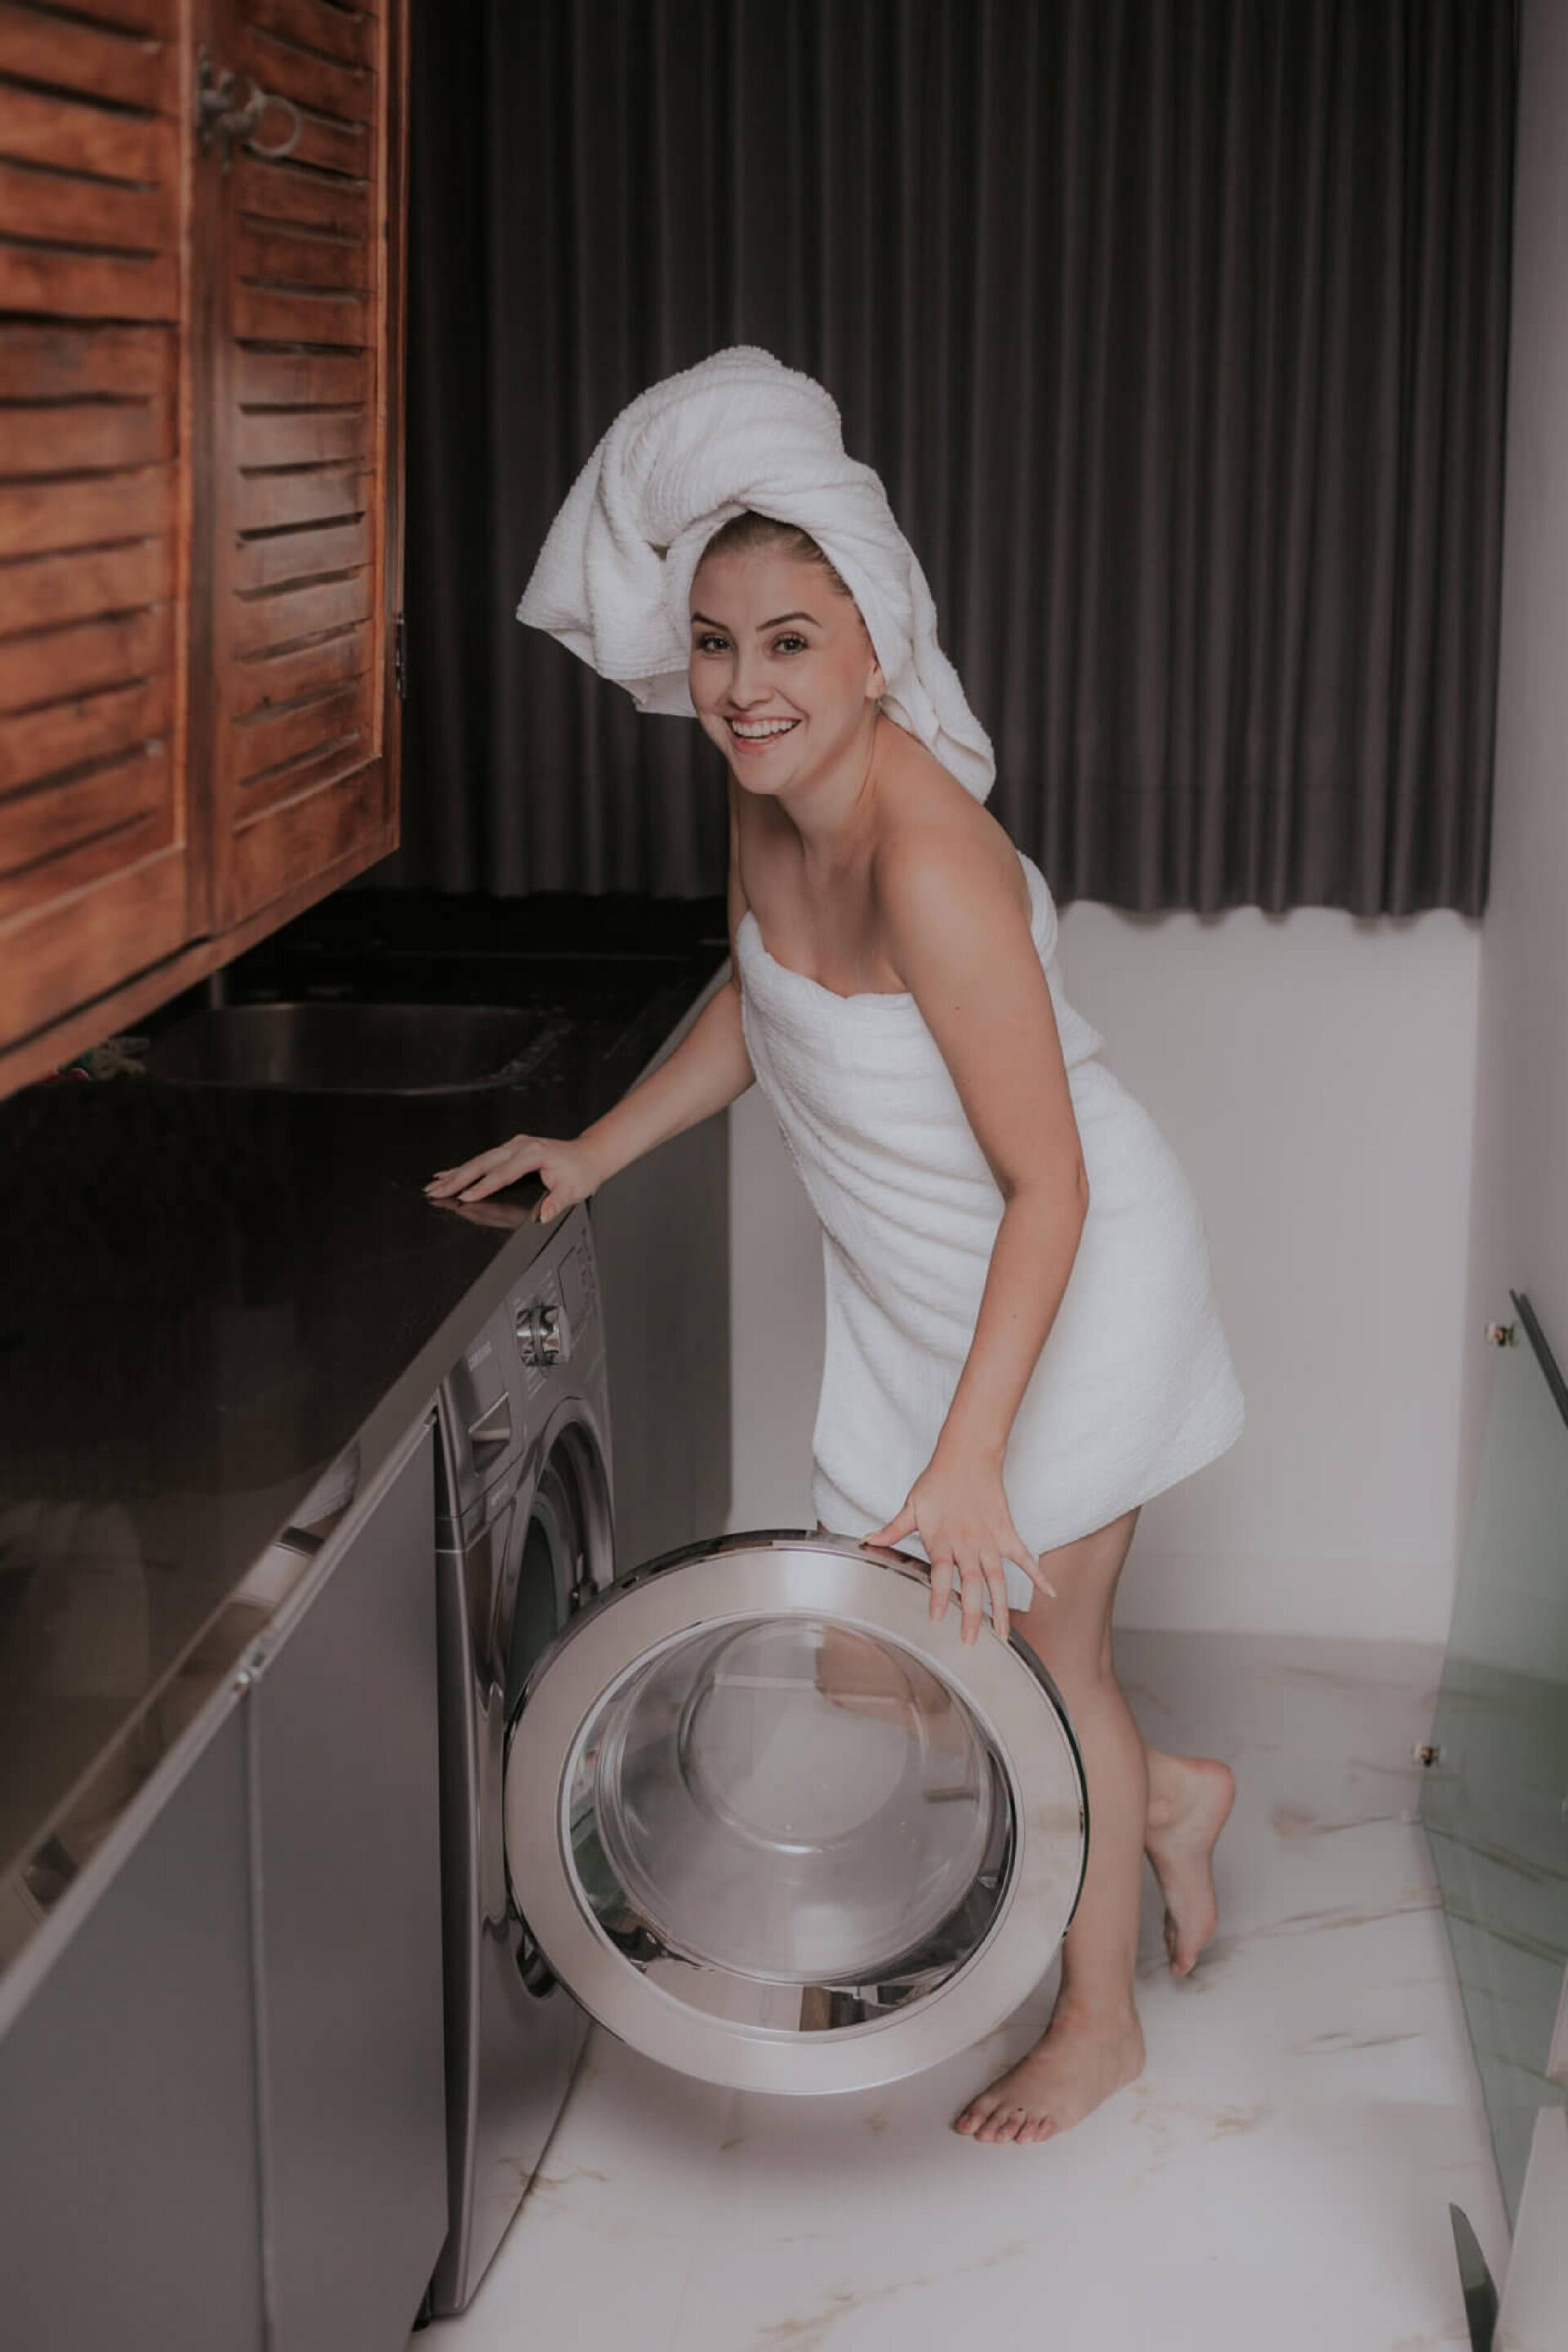
Choosing the right paint finish is key for areas such as closets and laundry rooms, where durability and ease of cleaning are priorities.
Here's why washable satins or semi-gloss finishes are often recommended for these spaces, and how a premium matte finish might also be a suitable option depending on your aesthetic preferences and specific needs.
Benefits of Washable Satin and Semi-Gloss Finishes
- Durability: Satin and semi-gloss finishes are highly durable, making them ideal for high-traffic areas or rooms where the walls may need to withstand frequent cleaning. Their robust nature helps resist the wear and tear that comes from regular use.
- Ease of Cleaning: One of the standout features of satin and semi-gloss paints is their washability. These finishes can be easily wiped down with a damp cloth, making them excellent for removing stains, splashes, and marks — common occurrences in laundry rooms and closets.
- Moisture Resistance: Semi-gloss finishes, in particular, are highly resistant to moisture, making them an excellent choice for laundry rooms where humidity and dampness can be issues. This resistance helps prevent the growth of mold and mildew.
- Reflective Quality: Both satin and semi-gloss paints have a slight to moderate sheen, respectively, which can help brighten these often smaller spaces. The reflective quality of the paint can make a closet or laundry room appear lighter and more welcoming.
When to Consider a Premium Matte Finish
- Aesthetic Preference: If the sheen of satin or semi-gloss doesn’t fit your style or if you prefer a more contemporary look, a premium matte finish can be an attractive alternative. Matte finishes have a velvety, soft look that absorbs light rather than reflecting it, providing a sophisticated, modern aesthetic.
- Advanced Formulations: Modern premium matte finishes are much more durable and washable than traditional flat paints. High-quality matte finishes can often withstand cleaning and light scrubbing, which previously was a limitation with older matte paints.
- Hide Imperfections: Matte paint is excellent at hiding wall imperfections, as its non-reflective surface does not highlight bumps and small blemishes. This makes it a good choice for older closets or laundry rooms with less-than-perfect walls.
Tips for Choosing Paint for Closets and Laundry Rooms
- Test Samples: Before committing to a full paint job, it's wise to test paint samples on the walls to see how the finish looks under the lighting conditions of your space.
- Consider the Lighting: Since closets and laundry rooms often have limited natural light, choose a paint finish that maximizes the available light. A semi-gloss might be preferable in a dimly lit room for its reflective properties.
- Evaluate Usage: Think about how you use the space. If the room is prone to stains, scratches, or moisture, the extra durability and washability of satin or semi-gloss might be necessary. However, for less intensive use, a premium matte could be entirely suitable.
By considering these factors, you can make a well-informed decision about which paint finish will best suit the functional needs and aesthetic desires of your closets and laundry rooms. The right paint not only contributes to the visual appeal of these spaces but also enhances their usability and maintenance over time.
When painting, particularly over surfaces that are glossy or have a finish that might prevent proper adhesion of new paint, preparing the surface appropriately is critical.
Let's look at why roughening up shiny surfaces is necessary and how to effectively prepare such surfaces for painting.
The Importance of Surface Preparation
- Adhesion: Paint adheres best to surfaces that provide some "tooth" or rough texture for it to grip onto. Glossy or smooth surfaces are too slick for paint to adhere properly, leading to paint flaking or peeling after application.
- Longevity: Proper surface preparation not only ensures better adhesion but also enhances the durability of the paint job. Paint that has been correctly applied on a well-prepared surface will last much longer, reducing the need for frequent touch-ups or repaints.
- Aesthetic Quality: Adequately prepared surfaces lead to a smoother and more professional-looking finish. Paint on well-prepped surfaces is less likely to show brush strokes, drips, or unevenness.
How to Roughen Shiny Surfaces
- Choosing the Right Sandpaper: For glossy surfaces, it's best to use fine-grit sandpaper, such as 220-grit. This grit is abrasive enough to remove the gloss and create a texture for the paint to adhere to without causing deep scratches that might be visible after painting.
- Sanding Technique: Sand the surface evenly, applying gentle pressure. Move in a circular or back-and-forth motion to cover all areas thoroughly. Be sure to reach into corners and along edges where paint failure can often begin.
- Safety Precautions: When sanding, wear a dust mask to avoid inhaling particles. Depending on the type of paint previously used (such as lead-based paint in older homes), more stringent safety measures may be necessary.
Cleaning After Sanding
- Wiping Down: After sanding, remove all the dust with a tack cloth or a slightly damp cloth. This step is crucial as paint will not adhere well to a dusty surface and can lead to a rough and unattractive finish.
- Rinsing the Surface: If possible, rinse the surface with clean water after wiping. This can be done using a clean sponge or cloth, dampened with water, and then going over the surface to ensure all sanding residue is removed.
- Drying: Allow the surface to dry completely before applying any paint. Moisture on the surface can dilute paint or cause adhesion problems, resulting in a longer drying time or a finish that is not durable.
Additional Tips
- Priming: After preparing the surface and before painting, consider applying a primer. This step is especially important when painting over dark colours, high-gloss finishes, or surfaces prone to staining. Primer will provide an additional layer of adhesion and can help achieve a more uniform colour and finish in the final painted surface.
- Test Patch: Before fully committing to painting the entire surface, you might consider doing a test patch in a less visible area. This allows you to see how well the paint adheres and looks once dry, ensuring that your preparation was sufficient.
By thoroughly preparing glossy or shiny surfaces before painting, you ensure the best possible outcome for your painting project. This meticulous preparation leads to a paint job that not only looks professional but also withstands the test of time, maintaining its beauty and integrity.
Put it only a third of the way in — you’ll get enough paint on your brush without wasting or pushing the paint deep into the bristles, which is difficult to clean.
CAN I paint over wallpaper?
Painting over wallpaper can indeed be a practical solution when the removal of the wallpaper is too difficult or could damage the walls.
However, this approach requires careful preparation to ensure a smooth, durable finish.
Advantages of Painting Over Wallpaper
- Time and Labour Saving: Removing wallpaper can be a time-consuming and labour-intensive process, especially if the wallpaper was applied directly to the drywall or with a strong adhesive.
- Cost-Effective: Painting over wallpaper can be more cost-effective than removing it, especially if you would need to hire professionals for wallpaper removal.
- Minimizes Damage: In cases where wallpaper removal could damage the underlying wall, painting over it can preserve the integrity of the wall surface.
Considerations Before Painting Over Wallpaper
- Condition of the Wallpaper: Ensure the wallpaper is well-adhered to the wall with no peeling edges or bubbles. Wallpaper that is loose or damaged should be repaired or removed as these issues can show through the paint or worsen over time.
- Texture and Pattern: Be aware that heavy textures or bold patterns on the wallpaper might show through the paint. Choose a thicker, high-quality primer to help minimise this.
- Type of Wallpaper: Not all wallpapers are suitable for painting over. Wallpapers with a vinyl, foil, or plasticised finish may need special preparation, as paint does not adhere well to glossy surfaces.
Steps for Painting Over Wallpaper
- Clean the Wallpaper: Begin by cleaning the wallpaper with a mild detergent and warm water, removing any dust, dirt, and grease. This ensures better adhesion of the primer.
- Repair Any Damages: Fix loose seams or tears with wallpaper adhesive. Flatten any bubbles by making a small slit with a knife, injecting adhesive, and smoothing it down.
- Seal with Oil-Based Primer: Apply a coat of oil-based primer over the entire wallpapered surface. Oil-based primers are essential because they seal the wallpaper and prevent the wallpaper glue from being reactivated by water-based products. They also help to block any underlying patterns and colours from bleeding through.
- Check for Stains and Bleed-through: After the primer dries, check for any stains or colour showing through. Apply a second coat of primer if necessary.
- Apply the Paint: Once the primer has thoroughly dried and the surface is prepared, you can apply your topcoat. Use a high-quality latex paint for the best finish. Apply at least two coats for even coverage, allowing each coat to dry fully according to the manufacturer’s instructions.
Tips for Success
- Use the Right Tools: For the best results, use a high-quality roller or sprayer to apply both primer and paint. These tools help achieve a more even coat than brushes.
- Ventilation: Ensure good ventilation in the working area, especially when using oil-based primers, as they can emit strong fumes.
- Test First: If unsure about the outcome, test your process in a small, inconspicuous area to see how the materials interact and assess the final look.
Painting over wallpaper can be a viable option when done correctly, transforming your space without the hassle of wallpaper removal. With the right materials and techniques, you can achieve a fresh, updated look that lasts.
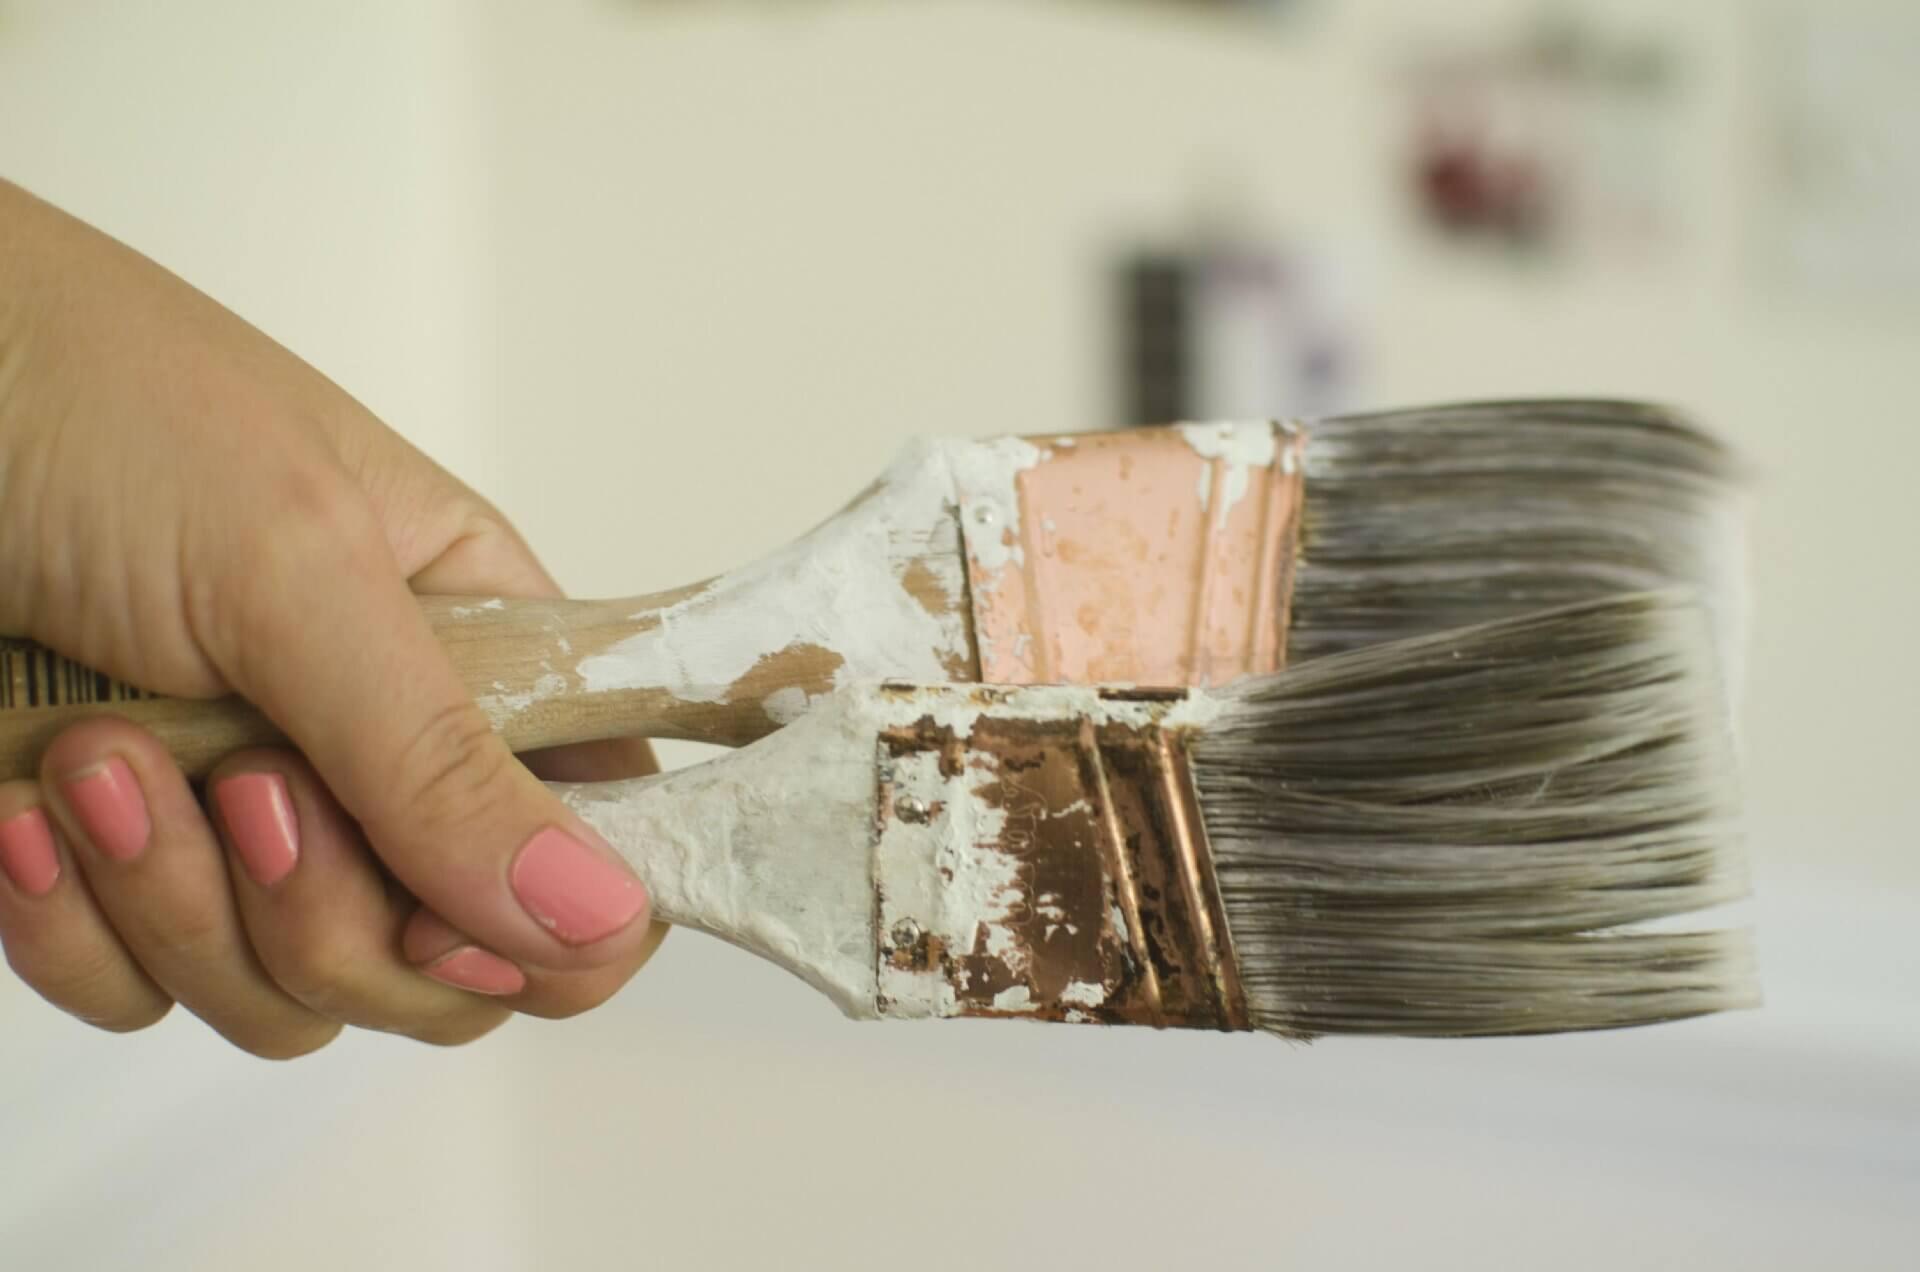
Proper care and maintenance of your painting tools are essential not only for preserving their functionality but also for ensuring that they continue to deliver a high-quality finish in future projects.
The Importance of Cleaning and Storing Paint Brushes Properly
- Longevity of Tools: Paint brushes can be a significant investment, especially if you opt for high-quality ones. Thorough cleaning and proper storage can extend their lifespan, saving you money and frequent trips to the store.
- Quality of Work: Properly maintained brushes hold their shape better and lose fewer bristles. This leads to smoother paint applications and a more professional finish in future projects.
- Avoiding Damage: Paint residue, especially from oil-based paints, can harden and ruin the bristles if not cleaned immediately after use. Hardened paint can make brushes stiff and unusable.
Steps for Properly Cleaning Paint Brushes
- Remove Excess Paint: Before using water or any cleaning solution, wipe off as much paint as possible using a paper towel or a rag. This step minimizes the amount of paint going down the drain and makes the cleaning process easier.
- Washing with Detergent: For water-based paints, wash the brushes under running water using a mild dish-washing detergent. Gently work the detergent through the bristles to ensure all paint is removed. For oil-based paints, you will need to use a solvent like mineral spirits or paint thinner first to break down the paint, followed by washing with detergent and water.
- Rinse Thoroughly: Make sure all traces of detergent and paint are rinsed from the bristles. Any residue can affect the performance of the brushes in your next project.
- Reshape the Bristles: Use your fingers to gently reshape the brush head to its original shape. This step is crucial to prevent the bristles from drying in a splayed or bent form.
Storing Your Paint Brushes
- Drying: Allow the brushes to dry completely before storing. This can be done by hanging them up or laying them flat on a towel. Avoid standing the brushes on their bristles, as this can deform them.
- Wrap for Protection: Once dry, wrap the brushes in airtight plastic wrap or aluminum foil. This wrapping prevents dust, dirt, and moisture from damaging the bristles.
- Original Packaging: If possible, store the brushes in their original packaging. Many high-quality brushes come in protective cases designed to hold the bristles in the correct shape.
- Climate Control: Store your brushes in a dry, cool place. Excessive heat or cold and humidity can damage the bristles and handles of the brushes.
Taking the time to thoroughly clean and properly store your paint brushes after a job is a small effort that pays off in the long run. This practice not only preserves the quality and extends the life of your painting tools but also ensures that they are ready to perform excellently for your next project.
By maintaining your brushes, you ensure that each painting endeavor can be approached with tools in optimal condition, leading to better results and a more satisfying painting experience.
Remember, if you don't want to do any of this yourself, contact us at Painting Central Coast for all your House Painting and Commercial Painting needs.
We have the best
painters on the Coast.