SOME USEFUL PAINTING TIPS AND TRICKS

Here are some simple tips to help make your next painting project a little easier.
Painting can be a fun and rewarding experience, whether you're sprucing up a room or giving new life to old furniture. However, without the right approach, it can quickly become a daunting task.
Here are some straightforward tips to ensure that your next painting project goes smoothly, with professional-looking results.
1.ALWAYS USE QUALITY EQUIPMENT

Investing in high-quality painting equipment is not just about achieving professional results; it's also about efficiency, longevity, and overall cost-effectiveness in your painting projects.
Here's a look into why quality matters and how it affects your work:
Advantages of High-Quality Brushes and Rollers
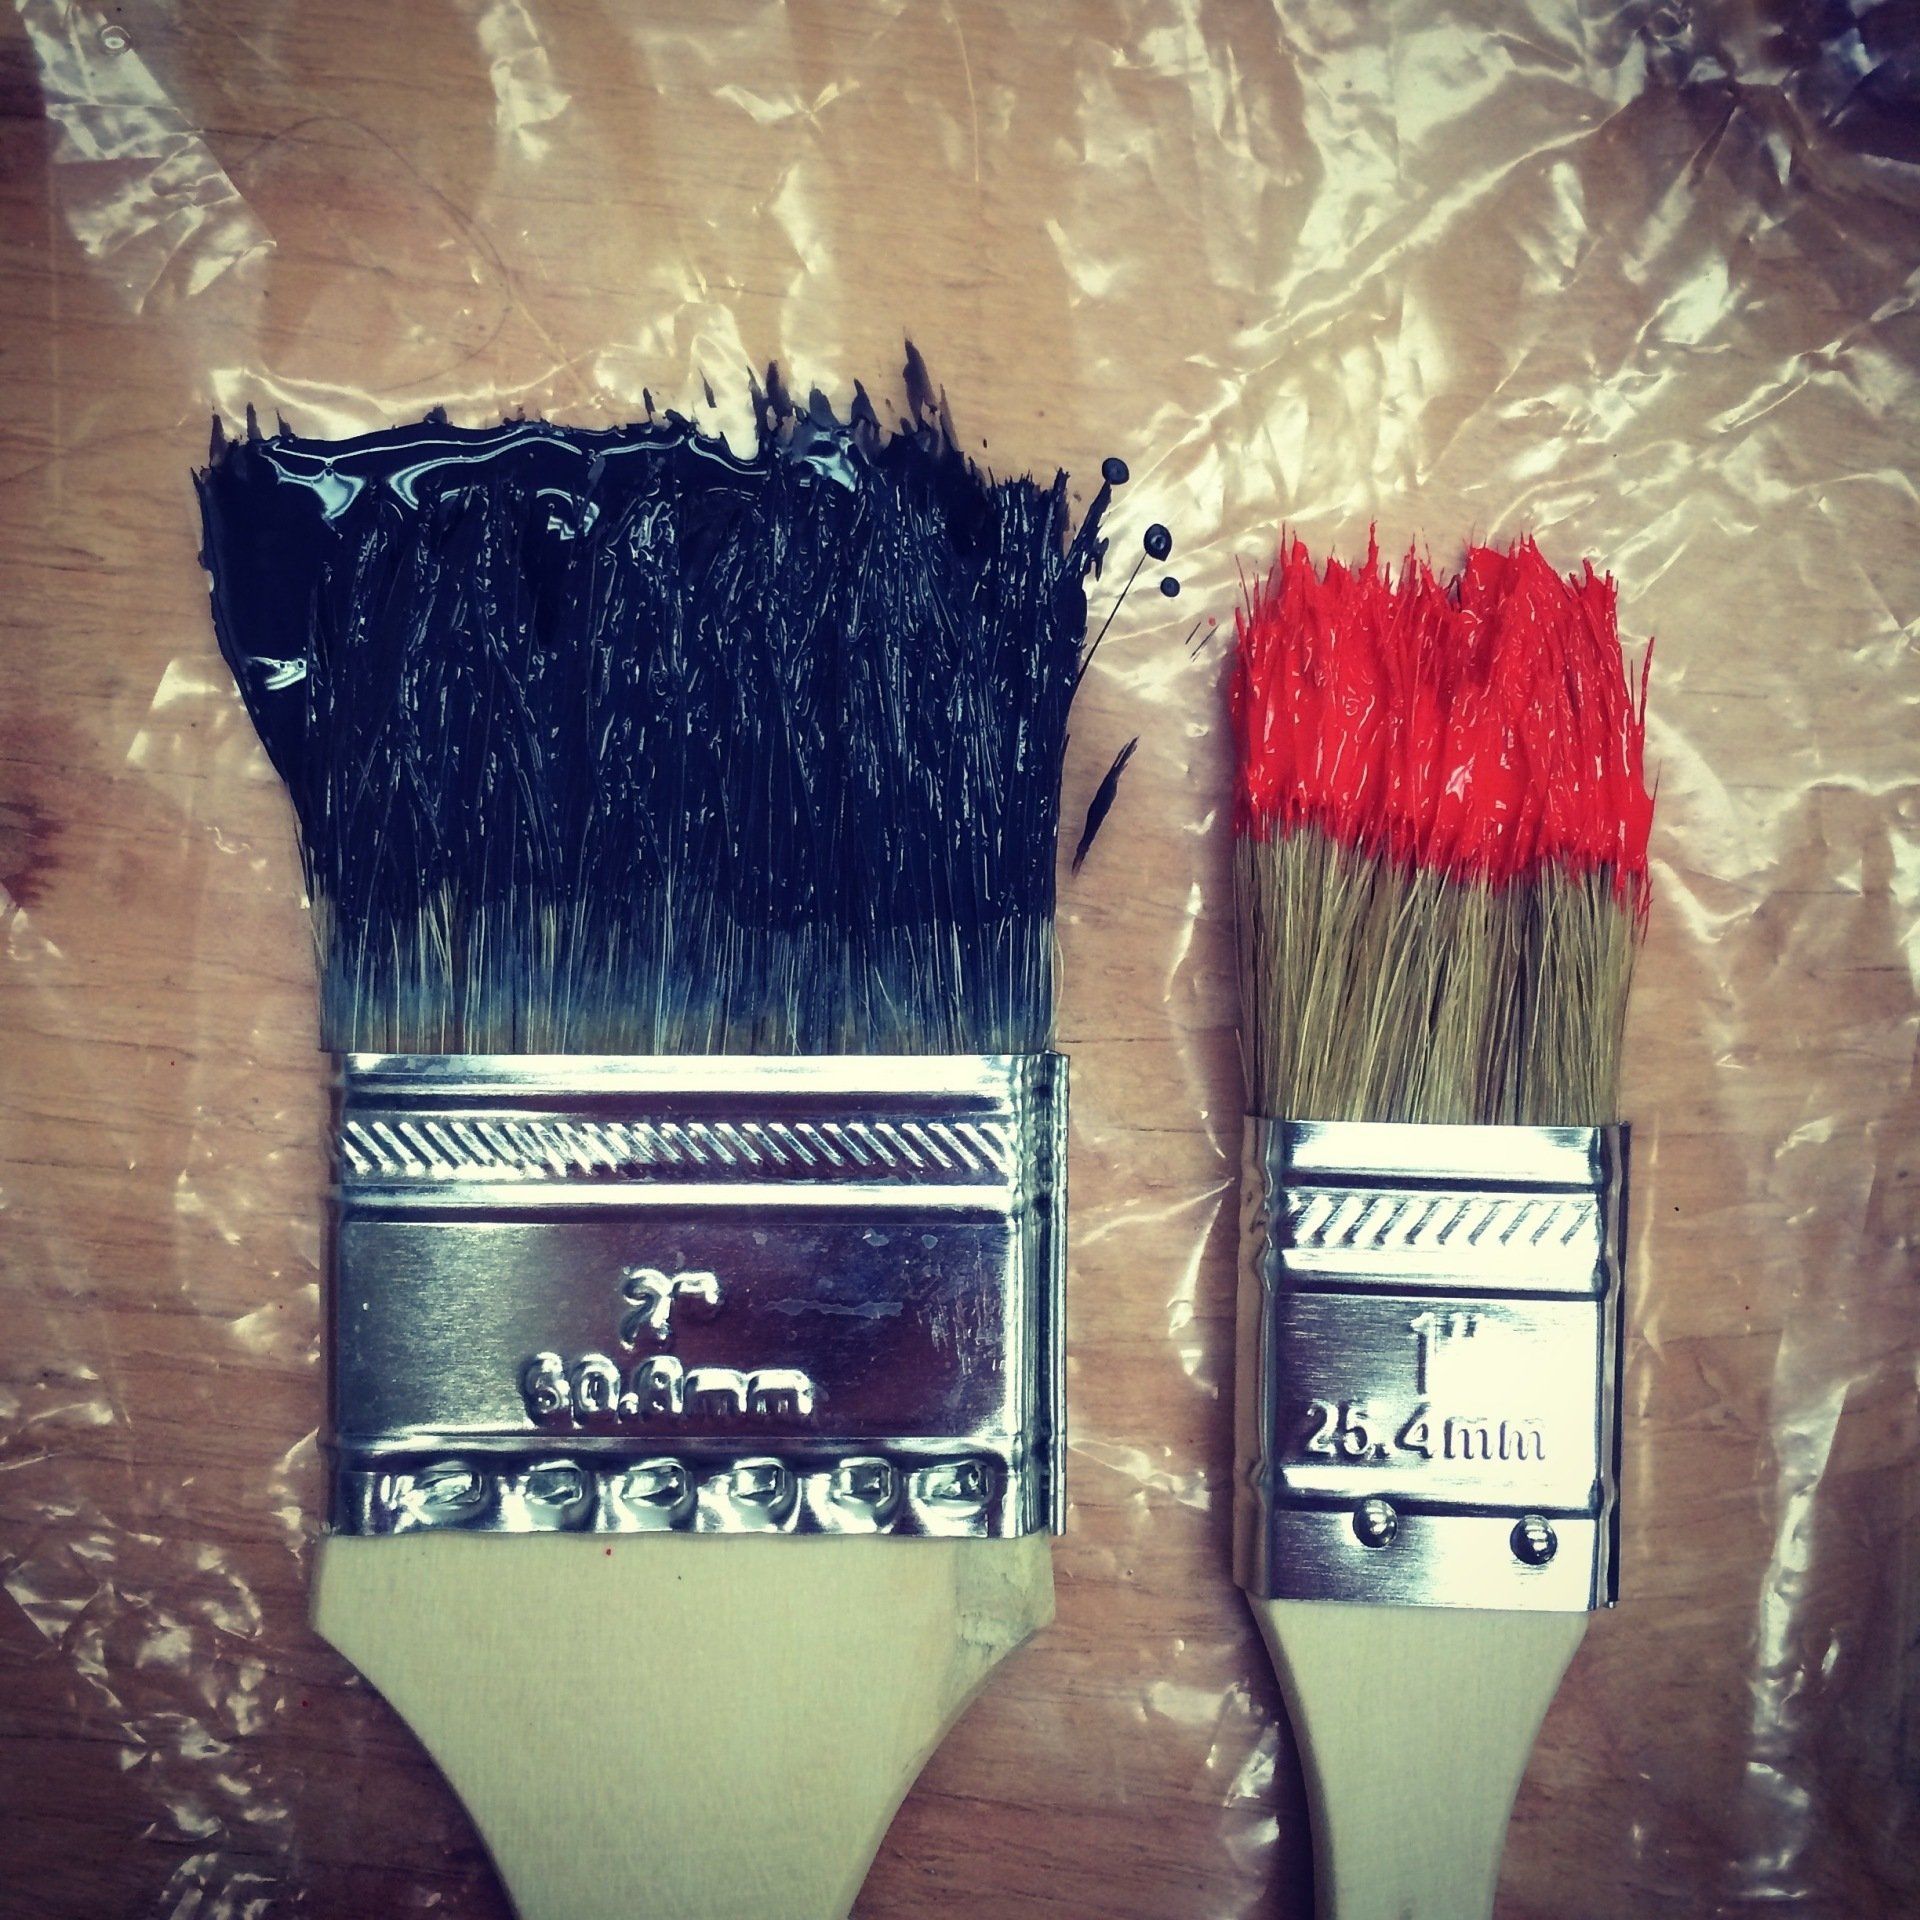
- Superior Application: High-quality brushes and rollers can hold more paint, apply it more evenly, and are typically designed to work well with specific types of paint. This leads to better coverage with fewer coats, saving you both time and paint.
- Reduced Brush Marks: Top-tier brushes are made from finer, more flexible bristles that leave a smoother finish with minimal brush marks. This is crucial for visible surfaces or finishes that require a high level of aesthetics.
- Less Shedding: Cheap brushes often lose bristles during painting, which can stick to the painted surface and ruin the smooth finish. High-quality brushes are less likely to shed, ensuring a cleaner application and reducing the frustration and time spent removing errant bristles.
- Durability: Quality brushes and rollers are built to last. They withstand repeated use, cleaning, and sometimes even the harshness of various solvents (depending on the type of paint used). While they may cost more upfront, their durability means you won't need to replace them as often.
- Cost-Effective: Although the initial investment is higher, the longevity and the reduced need for frequent replacements make high-quality painting tools more cost-effective over time.
Caring for Your Painting Equipment
Proper maintenance extends the life of your painting tools, maximises your investment, and ensures they're ready for the next job. Here’s how to care for them:
- Clean Immediately After Use: Paint can be difficult to remove once it dries. Clean brushes and rollers immediately after use with the appropriate solvent—water for latex paints or mineral spirits for oil-based paints.
- Proper Cleaning Techniques: For brushes, work the solvent into the bristles and rinse until the water runs clear. For rollers, use a roller cleaner or a standard garden hose to flush out the paint, followed by a thorough application of soap and water.
- Storage: Once clean, reshape the brush bristles and hang the brushes to dry to prevent the bristles from bending. Store rollers in protective sleeves to keep them dust-free and retain their shape.
- Conditioning: Occasionally conditioning the bristles of a brush can keep them flexible and extend their lifespan. Use a little bit of linseed oil or brush conditioner after cleaning.
- Avoid Soaking Wooden Handles: Soaking brushes in water can cause wooden handles to swell and crack. Instead, focus on cleaning the bristles and wipe down the handle with a damp cloth.
By prioritising the purchase of high-quality painting equipment and maintaining it properly, you not only enhance your efficiency and effectiveness as a painter but also ensure that your tools can be used for many years, making it a wise long-term investment in your toolkit.
2.TAPE UP
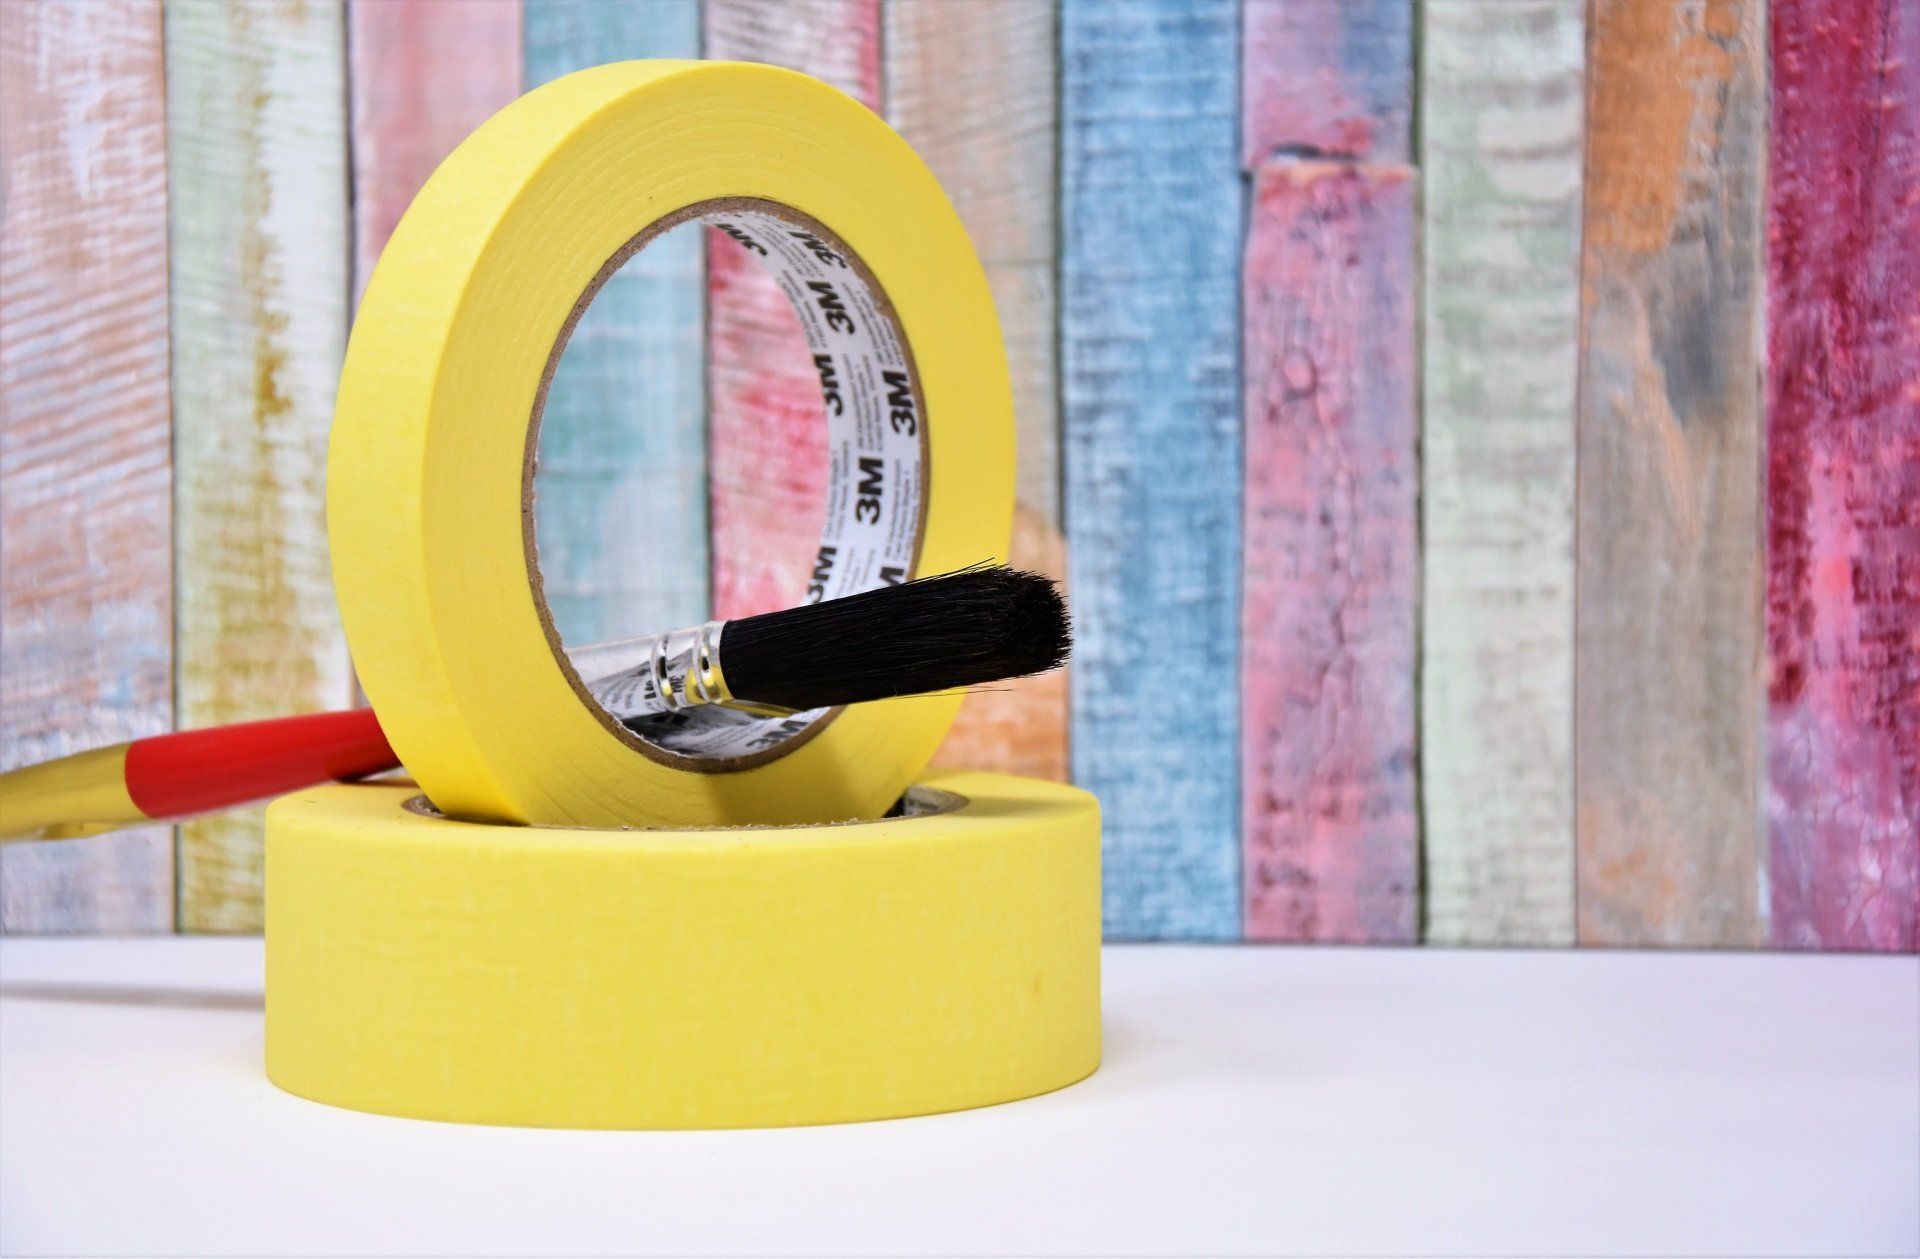
Using masking tape is a widely recommended technique when you're painting to achieve sharp, clean lines and to protect surfaces like window glass or trim from unwanted paint splatters.
Here's the process and some additional tips:
Types of Masking Tape
- Painter’s Tape: This type of tape is specifically designed for painting jobs. It's less sticky than regular masking tape, which minimizes the risk of damaging the paint when you remove it. Painter's tape also seals out paint drips better and can be left on surfaces for several days without leaving residue.
- Regular Masking Tape: While it's more commonly available and sometimes cheaper, regular masking tape has a stronger adhesive that might pull off fresh paint or leave a sticky residue if left on for too long.
Applying the Tape
- Surface Preparation: Ensure that the surface where the tape will be applied is clean and dry. Dust and moisture can prevent the tape from adhering properly, leading to paint bleed-through.
- Application: Apply the tape carefully along the edge where the paint is to be applied. Make sure the tape is straight and press down along the edge to seal it, preventing paint from seeping underneath.
- Sealing: Use a putty knife or a small tool to press the edge of the tape firmly. This helps create a tight seal, ensuring crisper lines.
Tips for Best Results
- Overlap Tape: When using tape in corners or where two pieces meet, overlap the tape slightly to ensure complete coverage without gaps.
- Timing: Remove the tape while the paint is still a bit wet or tacky. If the paint dries completely, it might peel off with the tape.
- Angle of Removal: Pull the tape back on itself at a 45-degree angle for a clean edge.
When to Use Painter’s Tape
- Edges and Trims: Painter's tape is ideal for getting sharp lines around door frames, window panes, and baseboards.
- Patterns and Designs: If you're creating patterns or designs on your walls, such as stripes or geometric patterns, painter's tape is essential for defining these features accurately.
Alternatives
If you're unable to find painter's tape, there are other methods to protect surfaces, such as using a steady hand with a quality angled brush or employing cutting-in techniques, which involve painting freehand along edges without tape. However, these methods typically require more skill and a steady hand.
By using the appropriate type of masking tape and applying it correctly, you can greatly enhance the quality of your painting project and achieve professional-looking results.
3.WRAP IT UP
Wrapping your paint brushes and rollers in cling wrap when taking breaks or switching tasks is a smart and efficient strategy to maintain the readiness of your tools without the need for repeated cleaning.
Here’s a detailed explanation of how and why this technique is beneficial:
Benefits of Wrapping Brushes and Rollers
- Prevents Drying: Paint dries through exposure to air. By wrapping your brushes and rollers in cling wrap, you effectively seal them off from air, preventing the paint from hardening and keeping your tools ready for immediate use.
- Saves Time: This method saves significant time as you can avoid the need for repeated washings between uses, which is especially useful if you’re returning to the same color and type of paint after a short break.
- Reduces Waste: By keeping the paint on the brushes and rollers from drying out, you also reduce the waste of paint. It ensures that the paint already on the tool gets used rather than washed away.
How to Wrap Your Painting Tools Properly
- Loading the Brush/Roller: Before wrapping, make sure your brush or roller is fully loaded with paint. This does not mean dripping with excess paint, but rather adequately saturated. This helps in creating a seal that minimises air exposure.
- Wrapping Technique: Use enough cling wrap to completely cover the brush or roller. Start by laying the brush or roller on one end of the cling wrap, then roll it up, ensuring that all sides are tightly covered and sealed. The wrap should be snug but not so tight as to squeeze out the paint.
- For Longer Breaks: If you plan to take a longer break (for example, overnight), it might be beneficial to add an additional layer of protection by placing the wrapped tools in an airtight bag or container to further ensure that no air gets in.
- Reusing the Tools: When you’re ready to resume painting, simply unwrap the tools. The paint should still be wet and the brush or roller ready to use without any need for prep work.
Additional Tips
- Use High-Quality Cling Wrap: Ensure that the cling wrap you use is of good quality and capable of creating an airtight seal. Some painters prefer using specialised painter's plastic or even aluminum foil for wrapping, as these materials can be even more effective at sealing out air.
- Label the Wraps: If you’re working with multiple colors or types of paint, consider labeling the wrapped brushes or rollers to avoid confusion when you resume your work.
- Dispose of Wraps Properly: After use, make sure to dispose of the cling wrap properly, considering environmental factors and cleanliness.
By employing this simple yet effective technique, you can significantly enhance your painting process, making it more streamlined and less cumbersome. This method not only keeps your paint application tools in optimal condition during breaks but also helps in maintaining a clean and efficient working environment.
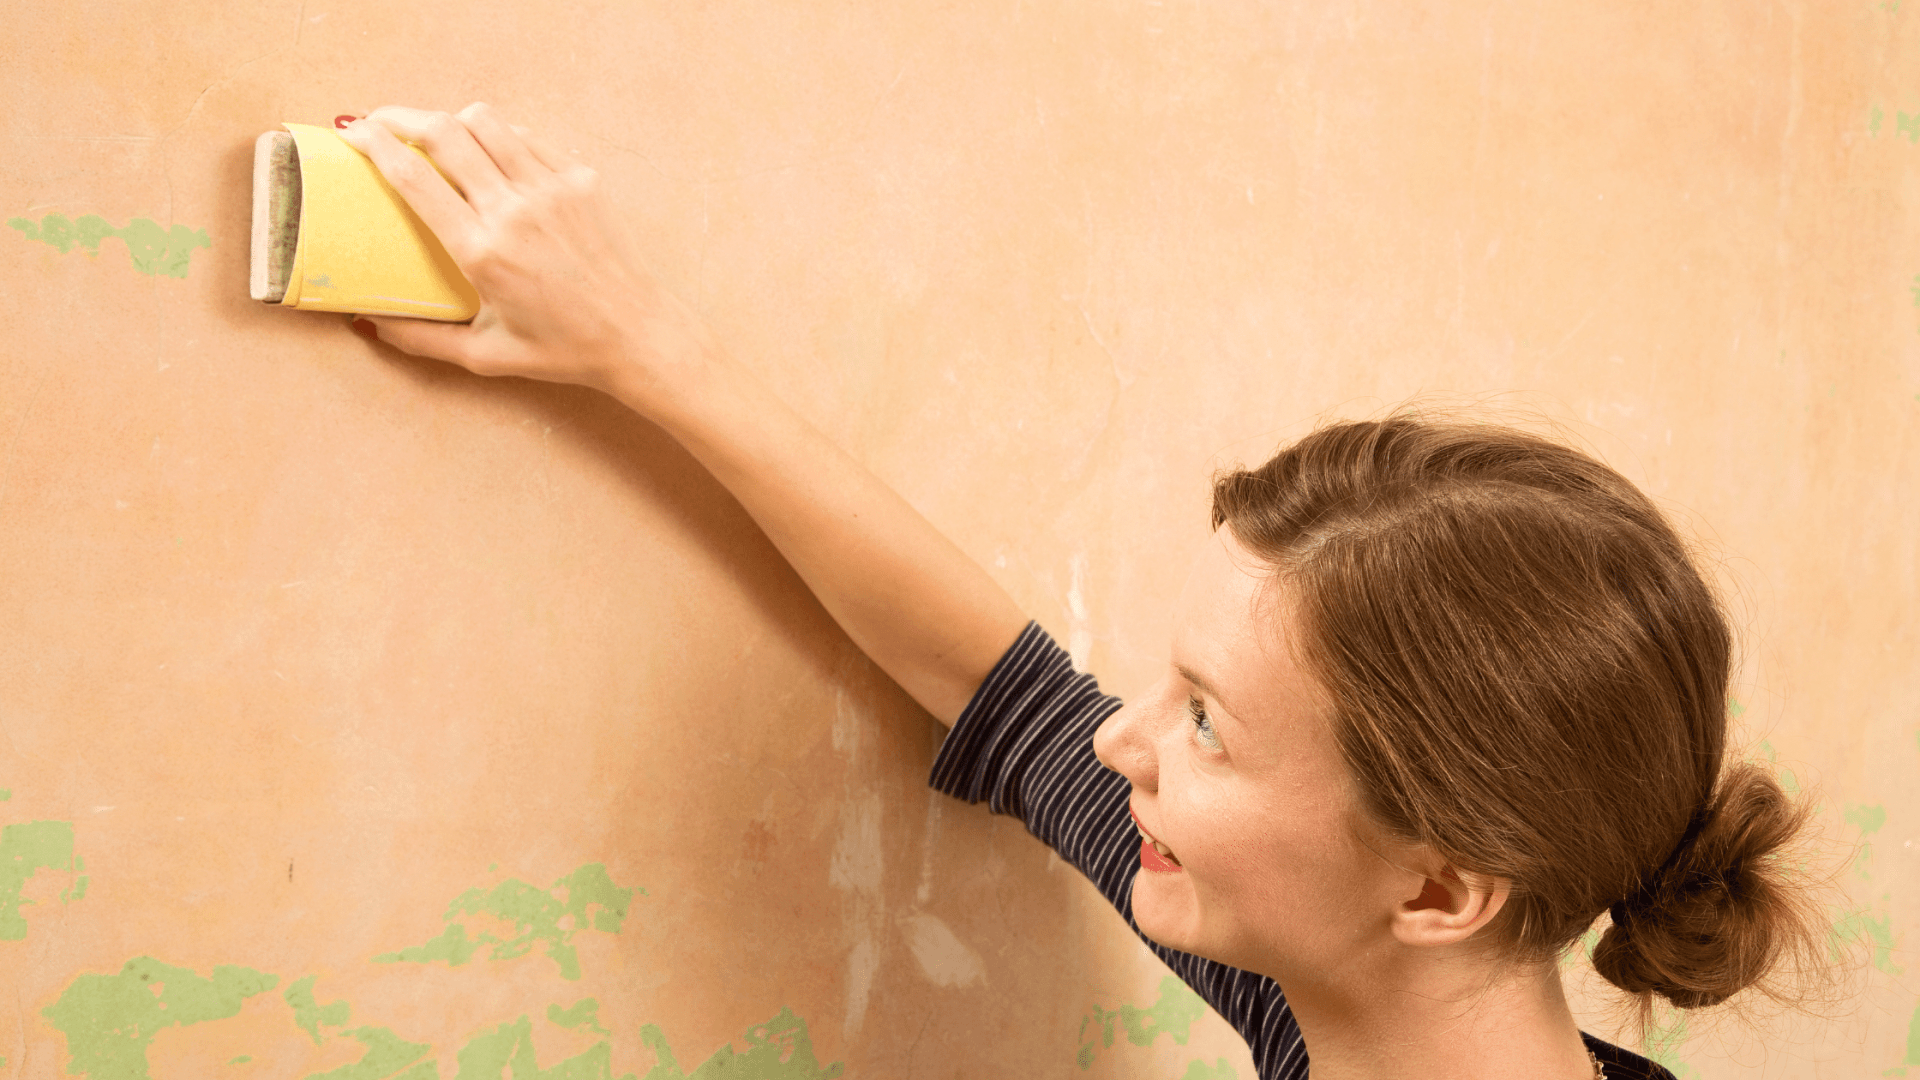
4.SAND BETWEEN COATS
Sanding between coats of paint is a critical step in achieving a professional, ultra-smooth finish on painted surfaces such as doors, windows, and trim. This technique not only helps to smooth the surface but also enhances the adhesion of subsequent layers of paint.
Here's the importance and benefits of sanding between coats, along with some best practices:
Importance of Sanding Between Coats
- Smooths the Surface: Applying a coat of paint, especially undercoat, can raise the grain of raw timber, resulting in a rough texture. Sanding smooths this out, creating a finer finish.
- Removes Imperfections: Sanding helps to flatten out any brush strokes, drips, or bumps from the previous coat, ensuring that each new layer goes onto a flat and even surface.
- Improves Adhesion: Roughening up the surface slightly by sanding provides a better "grip" for the next coat of paint, improving adhesion and reducing the likelihood of peeling or chipping later.
- Enhances Finish Quality: For glossy finishes, sanding between coats can slightly dull the shine of the underlayer, which is beneficial. It ensures that the final coat has a smoother, more uniform gloss once it's applied.
Best Practices for Sanding Between Coats
- Timing: Allow the paint to dry completely before sanding. Check the paint can for specific drying times, as they can vary by type and brand of paint.
- Type of Sandpaper: Use fine-grit sandpaper, such as 220-grit, for sanding between coats. This is abrasive enough to smooth out imperfections without causing scratches that might be visible after applying the next coat.
- Technique: Sand lightly and evenly. The goal is not to remove the previous coat but to simply roughen it up slightly and smooth out any imperfections. Use a sanding block or an electric sander for flat surfaces to maintain even pressure.
- Dust Removal: After sanding, it's crucial to remove all dust from the surface. Use a tack cloth or a slightly damp cloth to wipe down the area. This ensures that no dust particles are trapped under the next coat of paint.
- Safety: When sanding, especially indoors, wear a dust mask and ensure good ventilation to avoid inhaling fine dust particles.
Additional Tips
- Sanding Curved and Detailed Areas: For mouldings and detailed woodwork, use a sanding sponge that conforms to the shape of the wood. This helps in reaching tight corners and intricate designs without damaging them.
- Avoid Over-Sanding: Be cautious not to sand too aggressively, as this can damage the surface or remove too much of the base coat.
- Checking Your Work: After sanding and cleaning, inspect the surface in good light to ensure it is uniformly smooth and ready for the next coat.
By following these practices, you ensure that each layer of paint contributes to a more durable, aesthetically pleasing finish. Sanding between coats might seem like an extra step, but the improvement in finish quality makes it well worth the effort.
5.A LITTLE PAINT IS BETTER THAN A LOT
Using the correct amount of paint on your brush or roller is crucial for achieving a professional finish and ensuring the painting process is as clean and efficient as possible. Overloading paint tools is a common mistake that can lead to a variety of problems.
Here's why moderation in paint application is important and how to do it right:
Problems with Overloading Paint Tools
- Drips and Runs: Excessive paint on brushes or rollers tends to drip or run, leading to an uneven application that requires additional time to correct. These drips can also dry into unsightly marks that might require sanding and repainting.
- Longer Drying Times: Applying too much paint can significantly increase drying times, delaying overall project completion. Thicker layers of paint take longer to dry and are more prone to sagging or cracking as they do.
- Increased Mess and Waste: Overloaded brushes and rollers often splatter paint, which not only wastes paint but also increases cleanup time and can ruin surrounding areas or require additional touch-ups.
- Compromised Tool Efficiency: When paint loads up further into the bristles or the roller, it can be hard to remove, reducing the effectiveness of the tool over time and making it more difficult to maintain.
Tips for Proper Paint Application
- Correct Loading: Dip only about a third of the bristle length into the paint, and tap off any excess on the sides of the paint can or tray. For rollers, roll it back and forth in the tray until it’s evenly covered and not overly saturated.
- Even Application: Apply paint in smooth, even strokes. For brushes, use the tips of the bristles rather than pressing down with the full bristle length, which can cause excess paint to squeeze out. For rollers, use light, even pressure and roll in a “W” or “M” pattern on walls for even distribution.
- Regular Wiping: Regularly wipe off excess paint from the brush or roller on the rim of the paint can or tray to prevent buildup and ensure smoother application.
- Correct Paint Quantity: Estimate the amount of paint you need based on the surface area to be covered. Using the right amount not only minimizes waste but also helps in applying a controlled, even layer.
- Use of Extenders or Conditioners: Consider adding paint extenders or conditioners, which slow down drying time and allow for a more even application without brush marks or roller streaks.
- Proper Technique: Maintain a consistent technique throughout the painting process. This helps in managing how much paint is on the tool and how it is applied to the surface.
Maintenance and Cleanup
- Immediate Cleaning: Clean brushes and rollers immediately after use to prevent paint from setting in. This helps maintain their condition for future use and reduces long-term cleanup efforts.
- Proper Storage: Store brushes and rollers properly by hanging them or keeping them in their original covers to retain their shape and functionality.
By adhering to these practices, you ensure a neater, more efficient painting process, reduce waste, and achieve a finish that looks professionally done. The goal is to maximize the use of your paint and tools while minimizing potential issues caused by over-application.
Always remember, if you don't want to do the job yourself,
Painting Central Coast is always here to give you the best job painting job by the best painters on the Central Coast.